Showing posts with label Studio. Show all posts

Friday, September 18, 2020

Craft Room Clean Up

I invited a friend over to craft for her birthday.  Only my room was a mess and could not hold her and her daughter.  Goal set, I had to make room for us to craft.  Once it was this clean, I had to take photos.

As you first enter my room and turn to the left you will see this stack of stamps.  I have themed bins of assorted brands of stamps (pink) with a few bins of papers (green).

I also have comic book boxes of stamps.  I have organized my stamps that I removed from the wood blocks in pocket packs.  I recently purchased a lot of stuff from a huge craft room and I got to take the paper home in the plastic file boxes in the photo.  I organized specialty 8.5"x 11" papers in them.

Here's the view into my primary area.  One of my favorite newer purchases is the table top for my cart.  It was $10 on sale at Micheal's.  I store odd size ink pads inside and use the top for my laptop.

Unfortunately, I broke the wheel off this cart during my clean up.  This is the second one I broke both of which were purchased at Sam's club.  I haven't had any problems with my Michael's cart.  My husband says I try to fit 10 lbs of stuff in a 5 lb container.  I did organize all my pre cut cards on the top shelf and card/envy sets and special fold card bases on the bottom.  

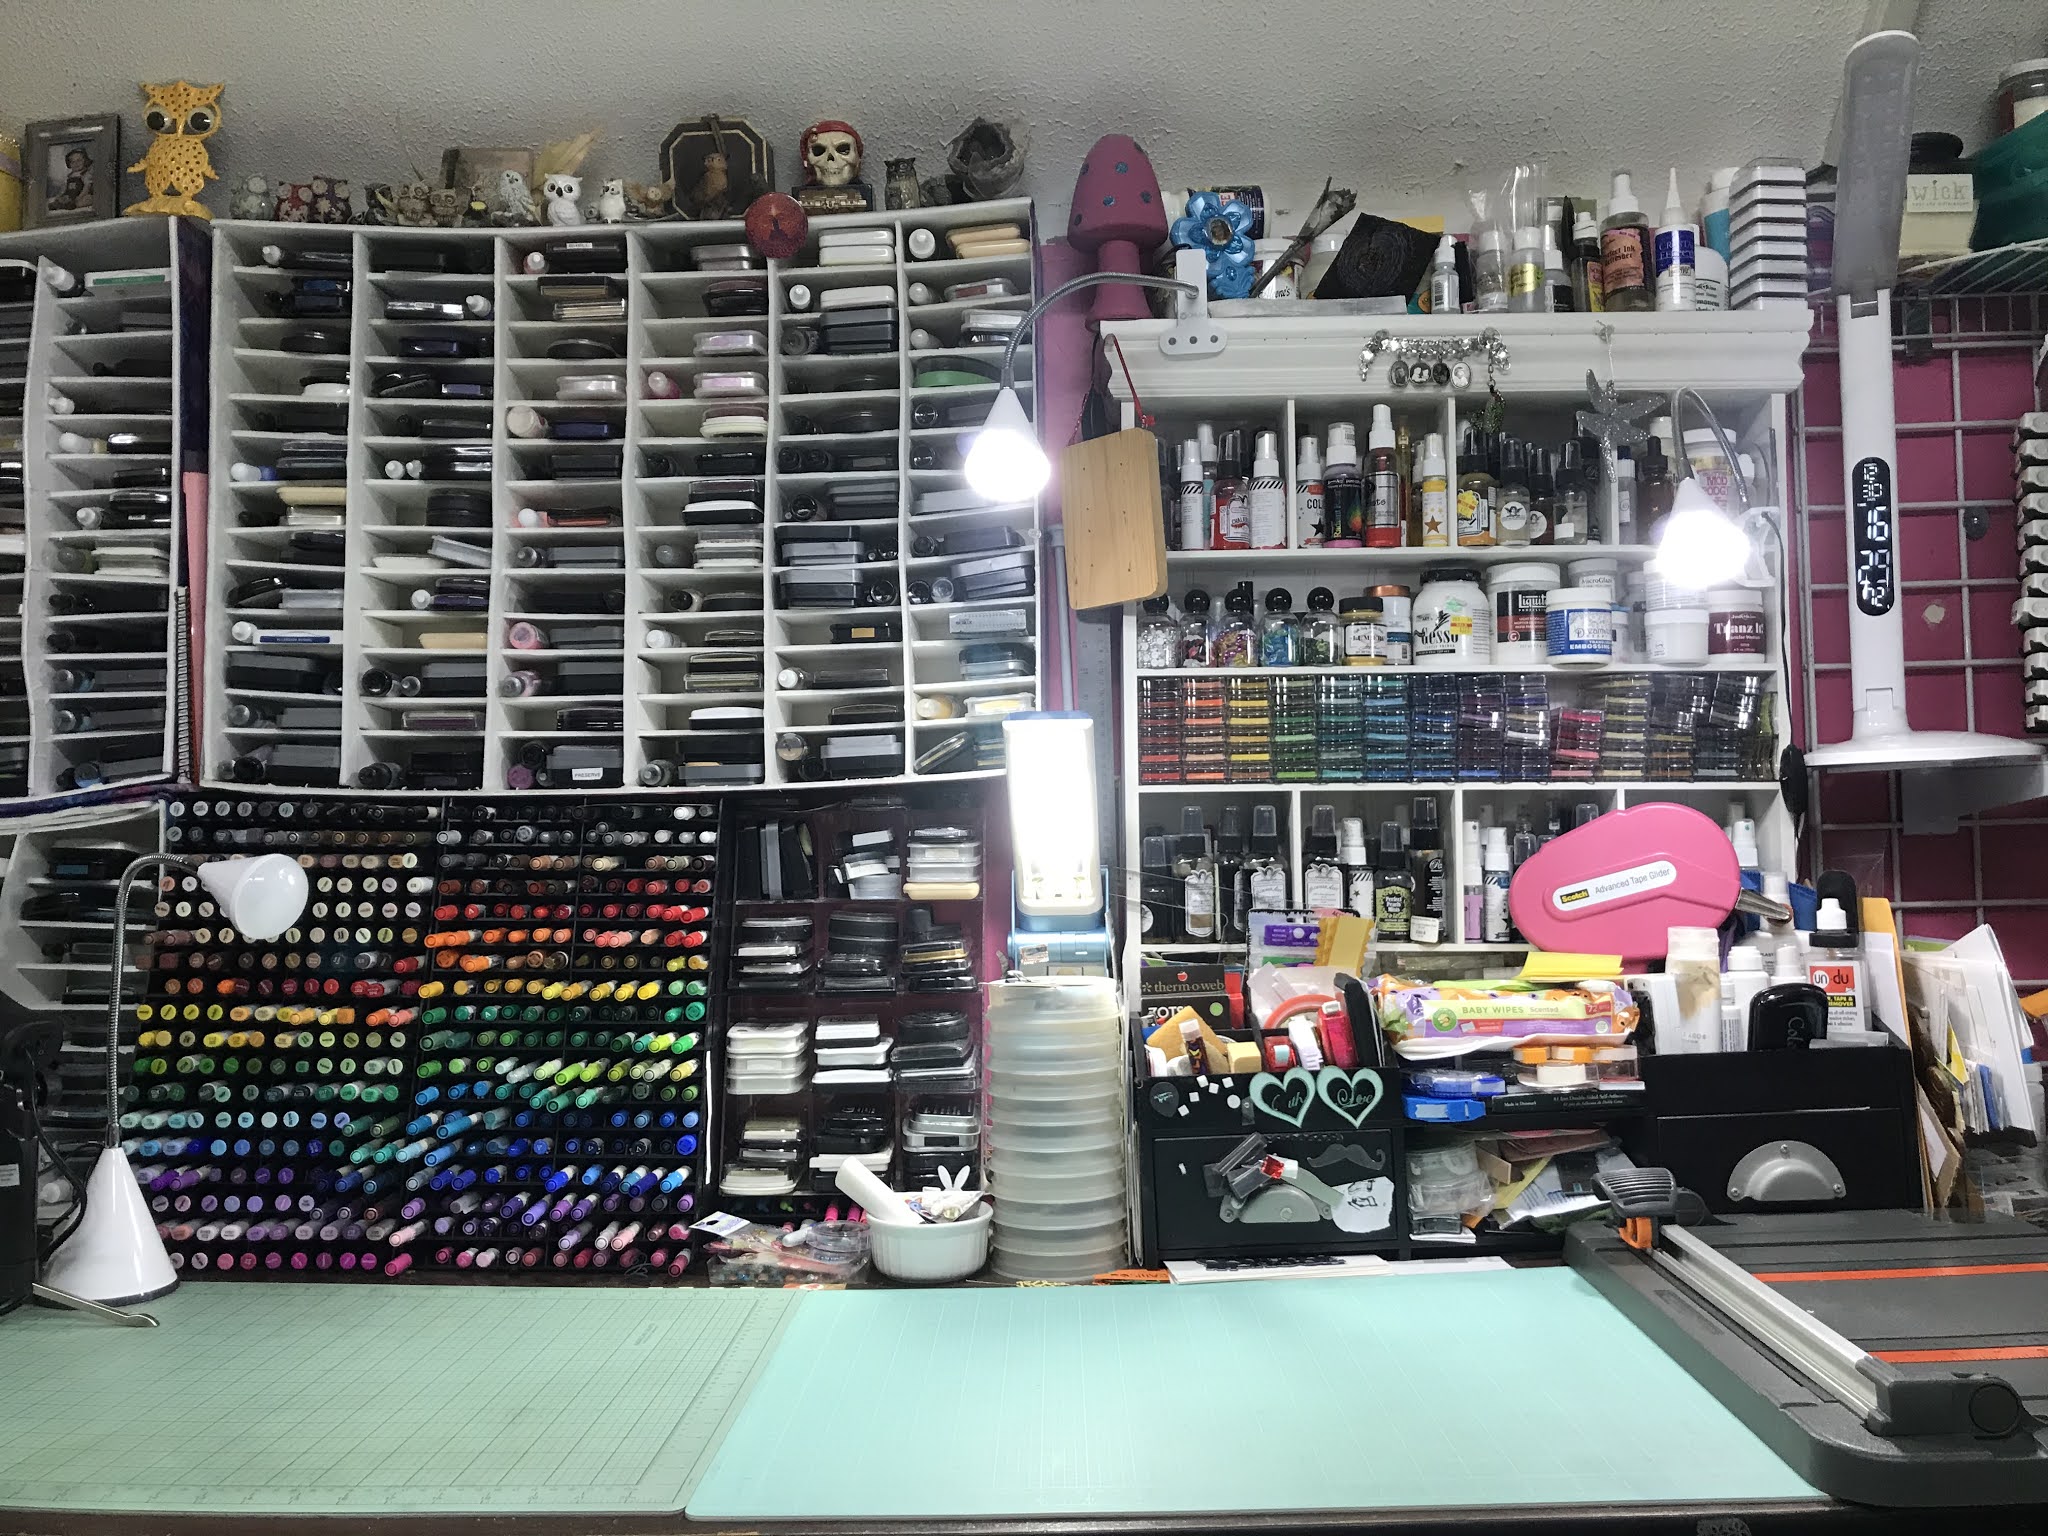
View from my primary seat.  My pens are within reaching distance as is a stack of black, white and gray ink pads.  I also have a desk caddy with adhesives, cleaners and random clear blocks.  My paper cutters are on the right hand side.


I also have my card stock handy.  More comic book boxes with Stampin Up stamps and two on the right are full of thin dies. I also keep my Creative Memories cutting system and border maker handy (bottom of photo).


My second cart is a bit larger and sturdier.  It came with pen holders and a peg board side.  I store small paper packs on top and embossing powders and accessories on the bottom two shelves.


Straight back from the door are my rainbow papers and embellishments.  In this corner are my Cricut, printers and beads.


A closer look at this desk.


Underneath this desk, more beads, Cricut mats and collage materials.


The next desk area contains my scrap rack, finished cards, envelopes, extra inks and refills.


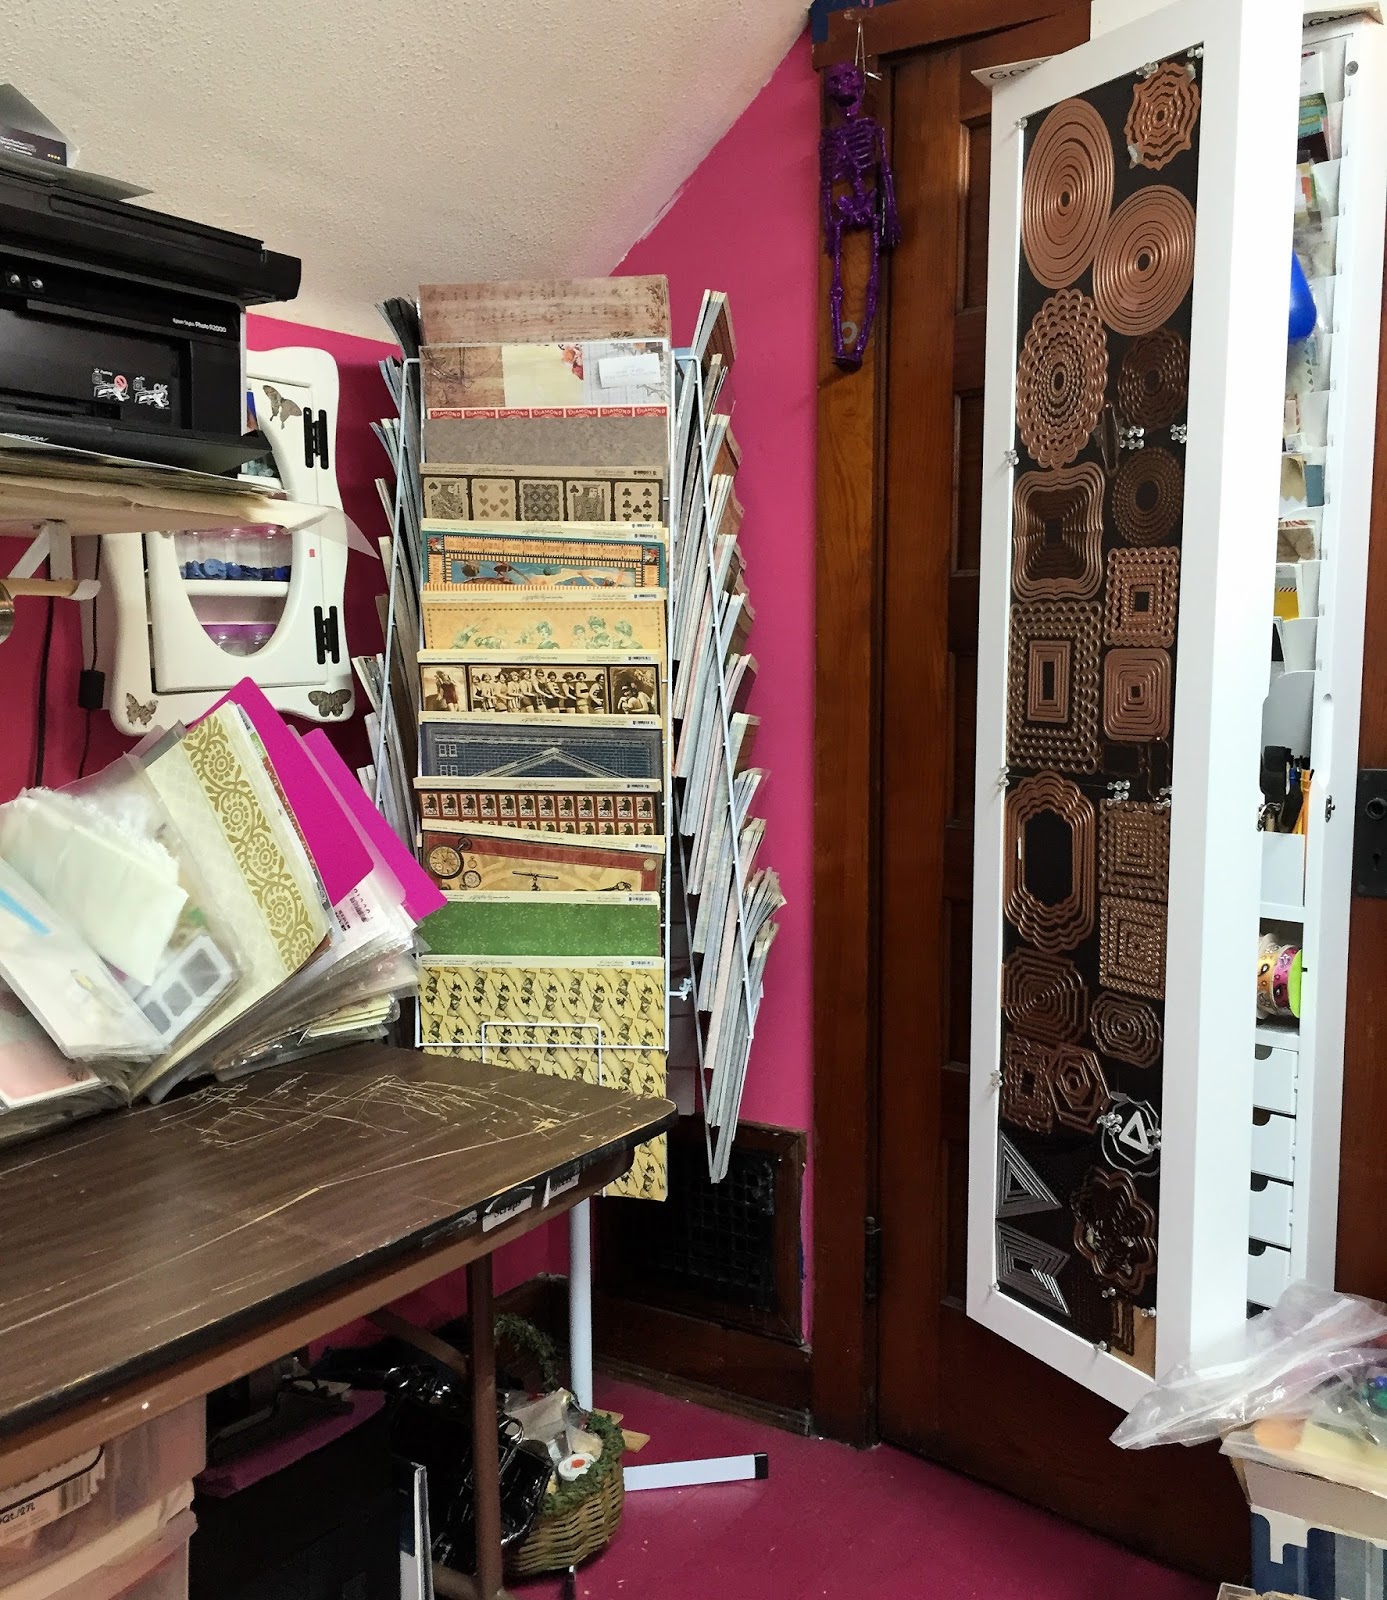
The final area is the manual die cutting cart.  I covered an old cart in duct tape.  I have machines on the top, a Sizzix Big Shot and Spellbinders Grand Caliber.  I store magnetic movers and shapers around the inside of the cart  and thin die basic shapes on magnetic sheets on the wall behind.  I also have my Kiwi Lane templates on a rack behind the door.


Below I have my large Sizzix dies and embossing folders in the old Creative Memories storage binder.  They fit great in the 4 pocket style page.  


I have some larger collections of themed papers that don't fit in the scraprack underneath on the other side of my cutting cart.  The themes include animals, food, sports including an entire soccer section and Xmas papers.


This corner has more Micheal's cubes and a set I purchased on Facebook market place (blue drawers).  I have my Graphic 45 papers and other paper collections over here.  Along with Sizzix alpha dies and miscellaneous odds and ends.


Of course, there is more crap in the floor back here, duct tape, coloring books, and extra envelopes are in containers.  I have extra scraprack and storage pages in a black CM bag in the floor.  My over the door storage has shimmer powders, paint brushes, glass marbles, some papers and glitter glues and pearl drops.


Another view from the door.


Now during the clean up, I had to move lots of boxes of stuff to my husbands room to make room for my friends to craft. These stacks are composed of duplicate items to sell, stamps to remove from blocks, and stamps and product to add to my Evernote files before adding to my stash.  I will say there are a ton of cd's behind my stacks so my stuff does NOT fill this entire corner.

Thanks for bearing with me through all the photos of my craft room.  It rarely gets this clean.  I am trying to keep boxes and papers off the floor.  I must admit it feels really good to walk up the stairs and between rooms without  boxes in the way.  However, I will say I have already needed a stamp in that stack.  I just did without it but I must move the stack of stamps to be removed from wood back to my room.

Alicia


Saturday, February 24, 2018

Craft room clean up

Good morning, I am still occupied with other things in my life right now.  I did however, do a clean up of my craft room when I returned from vacation last month.  Of course, one has to take pictures when it is "clean" or as clean as it gets, lol!  It has just taken a month to get the pics in a post.  


As soon as you walk in the door to the left is my stamp collection.


Next along that wall is my ink pad and refill collection.  I created my holders out of foam board.  Warning!!! Do NOT use the cheap $1 foam board, it is not as sturdy as the good stuff found at Michael's.  I had to remake the ones on the left, the one on the right is several years old and has not sagged that bad while just as full...the difference was the board.  Yes, the good stuff is more expensive but it takes many hours to make these containers and much better not to have to do the same project twice because of shoddy materials.


My old dog loves to hang out in mom's craft room.


This area is handy to my primary seat.  I have my tool caddy and solid card stocks within reach.  As is my color charts and a notebook of less used thin dies.


Webster relaxing...


My rainbow papers and embellishments.


The primary reason for my clean up was to incorporate the wood shelving that holds my electronics.  One of my printers was not even in my craft room.  Now both my electronic cutters and both my printers have a permanent sturdy home.  It also gave me more table top for designing and preparing my mats for my electronic cutters.


My beads have been relegated to the corner.


I rearranged this top shelf since it used to house one of my printers.


Even during clean up, there is a "collection" area where all the "other" stuff collects.


My die cutting area.  The old Creative Memories binders hold my embossing folders.


I have lined several areas with magnets to hang my most used thin dies.


And we are back to the door.  Thanks for stopping by for my annual clean up and 360 tour.  

Alicia

Friday, July 3, 2015

My Craft Room and recent updates


Welcome to my craft room!  I have taken pictures around the entire room to give you a 360 degree tour.  I was inspired recently by a Facebook group I am in about organization to try some ideas out.  I also need(ed) to clean my room for an event I am having in July.  So Father's Day weekend I locked myself in and worked my butt off!  The momentum has continued.  But I had to get back to actual crafting for all my swap and DT commitments.  So after that was done I did one more night of tidying before taking pictures.  It is still a work in progress but presentable.  I wouldn't have taken pictures yet but Double click skittles' linky is for craft rooms this go round.  AND....I did invest many hours recently so I guess I can show it off a bit.


My rainbow papers and embellishments.


New foam board ink pad holder #1.


#2 and my easily accessibles on my work surface.


Spray inks, paints, washi that does not fall under the rainbow or themes section and rainbow card stock in the stand.


Let's just call it junk?  Swaps, power layout sheets, my "music" sections takes up one and half cubes, notebooks, works in progress and Sizzix alphas.  And my rainbow brads, buttons and eyelets in containers.


My scraprack on a cart in front of a shelf full of empty albums and pages topped with memorabilia.


Stamps, themed iris containers and bead table


Bead and sizzix area


Cricut and my first "scraprack" a magazine holder.  


Graphic 45 and other pretty papers and the back of my armoir that I covered in magnetic vent covers and added my most used Spellbinders


Inside of armoir


Close up of the Spellbinders. The armoir has cork underneath these magnetic sheets so I just push pinned them up!


Back of the entry door where I have my Kiwi Lane Designer templates on revolving belt racks and then on an over the door rack.


So much for the 360 tour.  Now I would like to show you some highlights.  Here is my new adored Cricut Explore.  I don't even know how to utilize everything yet but I am lovin it!  I once saw someone using the stand at a crop.  It came from Walmart in the kitchen organization section.  At the crop the lady was using it to keep embellies on and such.  It gives you another "layer" which is always useful!  My CTMH stamps are stored in old CM photo holders.


Catalogs of my stuff!  Thanks Tiffany for the wonderful instructions!  You have improved my crafting tenfold!!!


Some favorite pages displayed temporarily.


A Tinkerbell looking over my shoulder.


Close up of one of my ink pad holders I made of foam board.  There are several great tutorials on youtube.  I took elements from all of them.  It is still not perfect but works for me!


I also made an pen holder of foam board.  I glued them with hot glue and reinforced all of the outside with duct tape.


Underneath my work surface, themed iris containers.


Just so you know this is not all nice and neat here is a pile I still have not done anything with since moving my room in March.  The two flat boxes are literally my bead desk top from the other room.  So much sorting to do!


Since I am no longer using the ink pad holder for ink pads, I put all my Quick Quotes inking chalks in it and since I am on their DT, I need easy access to all the colors quickly!


In the hall...this is my photo, memorabilia storage and completed card inventory with a layer of never used bags on top just for fun!!!


I have managed to stick up some artwork of my friends.  I used to be a professional crafter doing about 20-30 art and craft shows a year.  I have collected much art along the way!  The fairy is from a local friend Sarah with Moonforest Studios,


I do not remember this lady's name but fell in love with her "ugly" fairies.  I think I have about 5!!


Thanks for bearing with all the photos, I thought I should take advantage while it is clean!!


I would like to enter this in the following challenge: