Showing posts with label Altered. Show all posts

Monday, April 16, 2018

Quick Quotes April Club Q Video Unboxing

Hello, Alicia here today unboxing this month's Ultimate Combo Club Q April kit.  I made my first unboxing video showing in detail all the projects that come in the kit.  You can sign up for Club Q here.  


Here are the four projects you get with the Ultimate Combo Club Q April kit:


I created one of the altered projects in a timed setting to see how long it would take.  This project the larger of the two mini tag albums took me 1.5 hours.  I do like to chalk all my edges.  I used the reverse side of several papers to make it my "own".


Here are some pics of the inside.  Club Q makes it so easy to put together with most of the cuts and score marks completed for you.  I tied some ribbon and created the photo tab by layering chipboard pieces.  The cascading flip on the back inside cover was so easy with score marks and pre cut holes, it could not have been more simple.  Chalking all the edges probably took the most time.


Quick Quotes products:
Powderpuff chalking inks:  Bermuda and Terra Cotta


Don't forget to check out the unboxing video and sign up for Club Q here.

Thanks so much for stopping by!


Saturday, October 28, 2017

Rock til you Drop! Altered Altoid Tin

Good morning!  Today I am showing off another altered Altoid tin.  This one was made for a friend's 40th birthday.  I used Cricut cuts, charms, and some old Rusty Pickle papers.


It's mostly "metal" colors of black and silver, but I wanted to add a pop of color so I asked her favorite...her response Kentucky Blue.  


I  used lots of die cuts, maual and electronic.  I added fancy fibers instead of plain ribbon.


When I began to gather the photos of which I printed many, I noticed a reoccurring theme, many of the photos my dear friend is using this hand gesture (she is also sticking out her tongue in most of them as well)...so I went with it and almost all of these pics have her throwing horns.  I have used the Cricut Rock Princess for this image before, so I knew exactly which images I need to bring this mini together.


My dear friend is also a former smoker and Altoids are her replacement addiction.  She actually gave me this tin and about 15 others to make more!


I doubled the inside pages from previous tin's I have completed.  So I kept the inside pretty free from lumpy embellishments.


I also created a custom box for my mini.  I used my Crafters Companion Ultimate scoring tool for the first time.  It was very easy and I will be pulling this out a lot more in the future.


Ingredients:
Cricut Rock Princess cart
Crafter's Companion Ultimate tool
Altoid tin
Rusty Pickle papers
misc papers and card stock
Tim Holtz/Sizzix dies
misc other dies and punches
charms
fibers

Saturday, September 16, 2017

Altered Altoid Tin with Graphic 45 Come Away with me


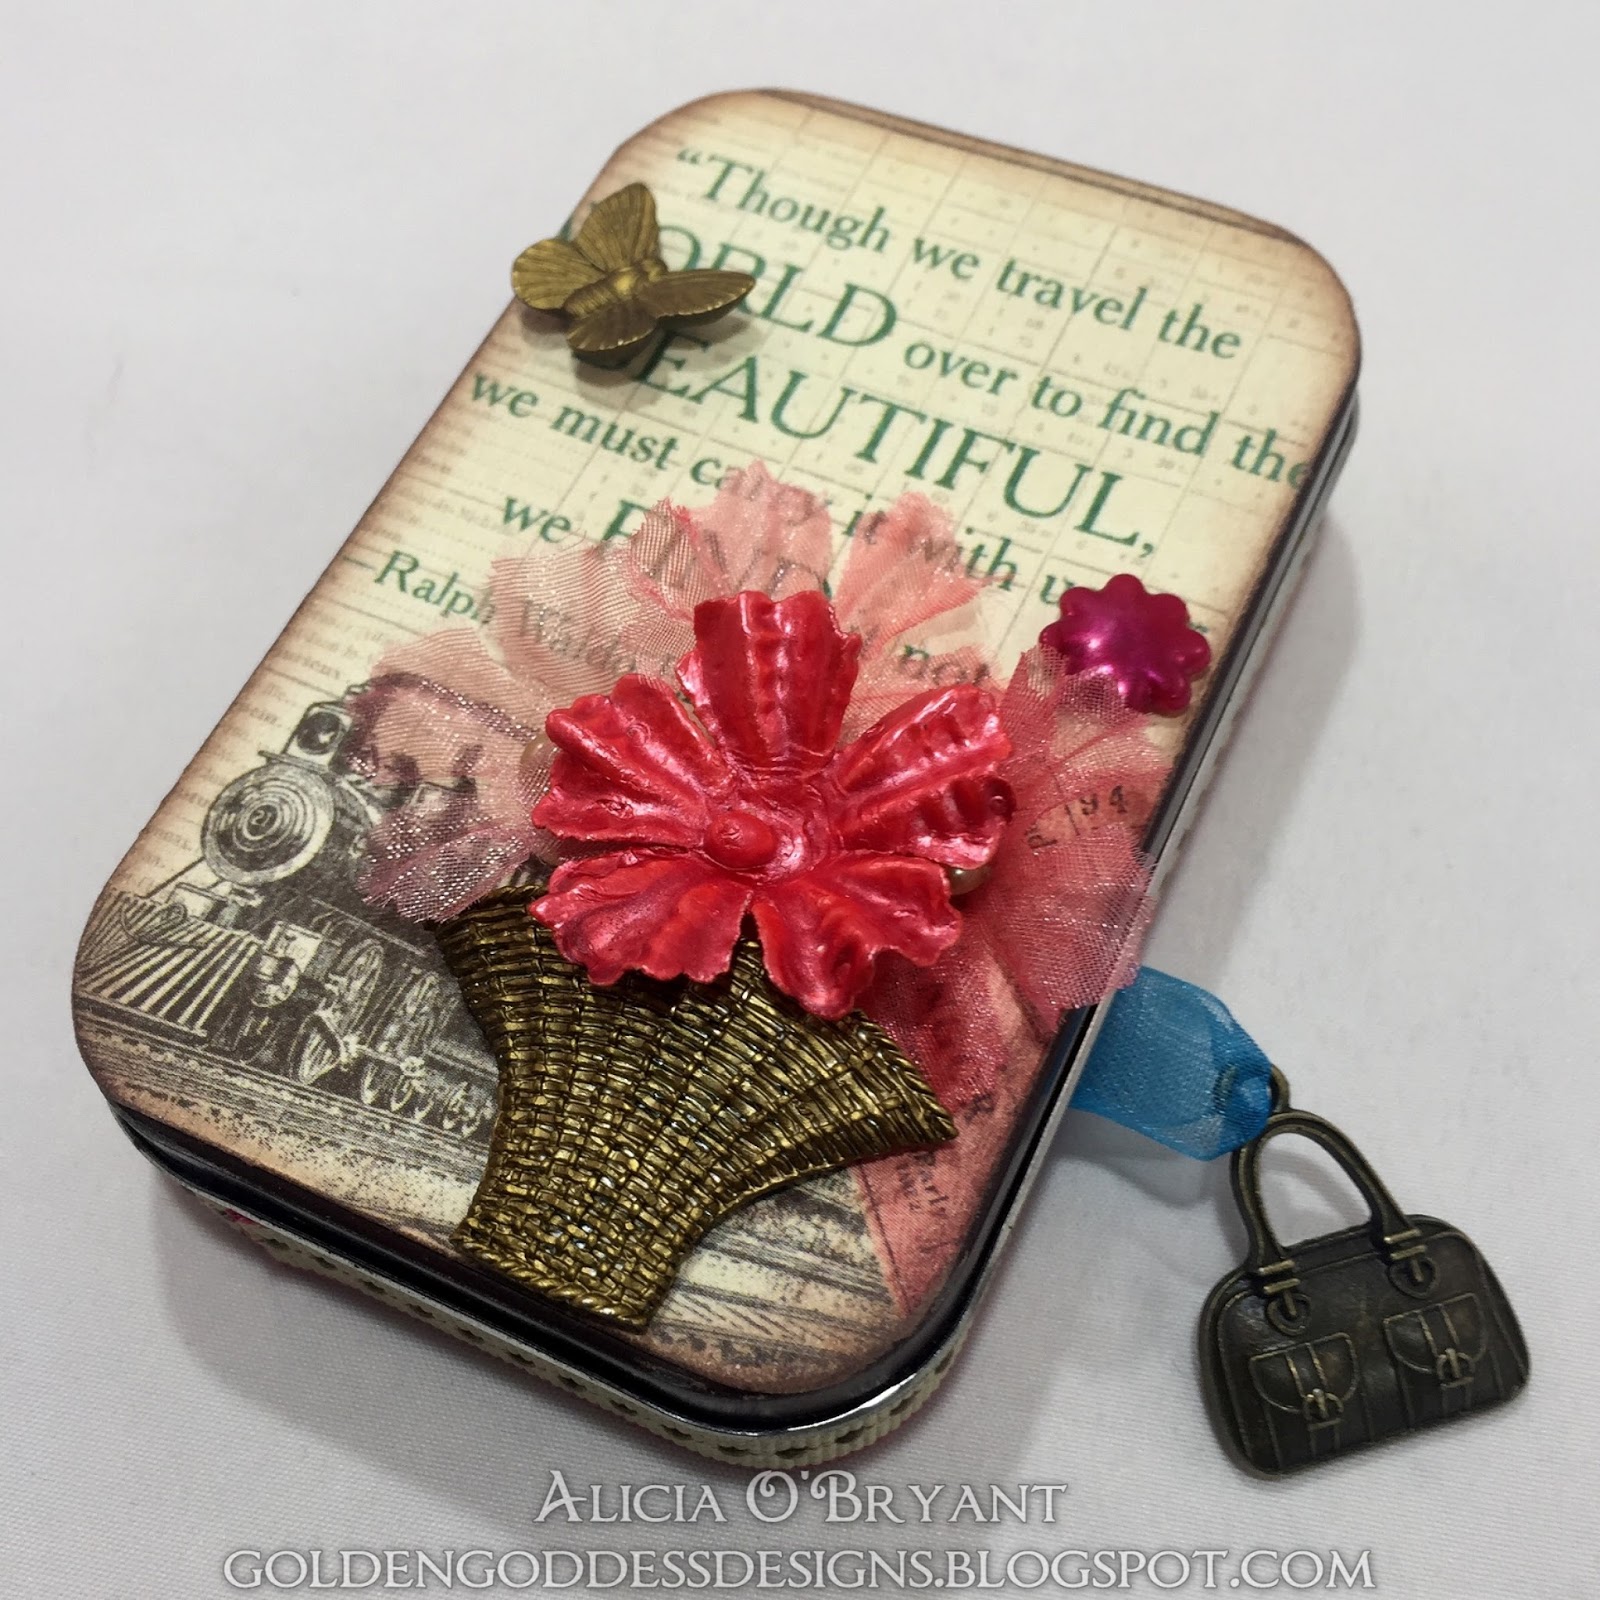
Happy Saturday dear readers!  I have for you an altered object today.  I created this beauty for a swap.  I loved the way it turned out and plan on another one real soon.


Here it is open and inside expanded.  The first page is a tag with the recipients name and address on it, so I covered it up for the photos.  Since it was a "tag" I punched a whole and used a piece of ribbon and a charm for the pull tab to open the tin, it works like a charm (pun intended).


To begin this project I first dripped a few drops of alcohol ink in and on the tin and smeared it around.  This provided a bit of coverage but not entirely.  I was going for the shabby chic look so this worked fine.  A warning I can give you is most paints won't stick to the metal, you can try to sand down the metal to get some paint adhesion.  I prefer to just cover most of it with paper anyway.

I ran the front and back pieces for the inside and out through my Xyron to get complete coverage and adhesion to the metal.  It is really hard to get the perfect size and corner cut, these pieces need to be slightly larger than the insert.   I used my Creative Memories corner rounder on the corners but it helped but was still not a perfect fit, so I sanded the edges a bit. The corner rounder works fine for the mini album inside.


You can find the measurements for the papers to fit a standard Altoid Tin here. I did not use these measurements, I usually just wing it as I have completed a few of these now.  I cut a 12" piece of card stock (not paper as this will be the base of your mini) down to the length that will fit inside the tin and scored it at a width that would fit inside the tin for the length of the paper and trimmed the excess.  I used red lined tape in a very thick width to adhere sections of ribbon to hold my mini in the tin.  I used this tape on both side to ensure stability.  The adhesive one uses is crucial without a proper adhesion your project will start falling apart the more wear it gets.  I sandwich the ribbon between the mini base and the decorative papers.


I decorated the inside lid with flowers and embellishments including a foreign stamp from my stash.


And now I will bore you with lots of snapshots of the inside showing closer details. I cut the decorative papers just a tad smaller than the card stock base.  I inked all the edges, it was time consuming but the look you get is so worth it.


Thanks so much for bearing with all the photos of this project.  The funniest part is my swap partner sent me a travel themed mini as well!  We did not discuss a theme at all but we both are known travelers so it was perfect.


Ingredients:
Graphic 45 Come away with Me paper
Jolee's embellishments
misc flowers, pins and embellishments
American Craft sheer ribbon

I would like to enter this in the following challenges:

Wednesday, August 16, 2017

Quick Quotes Off the Page: Shadow box

Good morning,  Alicia with you today.  I have created a lovely shadow box for my niece. I did not intend for it to be monochromatic, after using  Jade PowderPuff Chalking Ink to color the outside scroll work I searched my Quick Quotes paper collection for matching papers, I found some from several different collections that came together perfectly.


I used my PIXMA iP8720 13x19 Wireless Printer to print not only the photograph but the sentiment.  I found this great quote when I searched the web.  I just copied it, changed the font and printed!  I don't like to waste the good Canon paper, so I included several other quotes and a photo on the pages for use later. 


I used two different inking techniques on my project either of which could be used for the August Quick Quotes challenge:  to use colored inks.
  1. Inking wood or chipboard
  2. Inking edges to create dramatic shading

I cut dozens of pieces for flowers using  a die set.  I inked all the edges with the same Jade PowderPuff Chalking Ink as the outside of the box. I shaped the flowers as I inked them.


After cutting the papers to fit the inside of the box, I added the flowers around the edges.  After adhering the quote and the flowers, I finally added some pearls and bling to finish it off.


Quick Quotes products used:


Canon products:


other products used:
shadow box
pearls and crystal bling hearts
Spellbinders Anemone flower and label dies


I hope you have enjoyed this project. 


Tuesday, November 22, 2016

Off the Page: Quick Quotes Altered Letter

Good morning Quick Quotes' readers, Alicia here today with an altered project for you today.  I must admit this project has been in the works for some time.  But when I received the new Quick Quotes Winter Bliss collection, I was finally able to accomplish the project I envisioned.

My nephew's room has arrow accents and it blue and gray.  The new Winter Bliss blue arrow paper was just perfect to cover the chipboard letter.  I distressed it with Coal Miner PowderPuff Chalking Ink and some stencils including the Want 2 Scrap Brick stencil.  I also used some texture paste with a stencil or two to give the project some dimension.  I also added plenty of arrows, some metal and some cut with templates.  I also cut some other shapes out of the Winter Bliss papers and added various embellishments.


I also created a chipboard frame on the letter.  I die cut the frame with nesting dies, chalked it up with Coal Miner PowderPuff Chalking Ink, then attached the frame to a chipboard backing.  Once I cut the picture down to fit, I measured and wrote the dimensions inside the frame so my sister in law can replace the photo as she sees likes.


Quick Quotes Products used:

Want 2 Scrap products used:

other products used:
Clear Scraps 6x6 gears stencil
Tim Holtz Starburst stencil
Tim Holtz Arrows and gears (metal embellishments)
Cricut Fontastic font
Creative Memories star punches
Kiwi Lane templates: Playtime 6, Adventure 1 & 2, Explore 2T & 4T
Art C Silver texture creme
Our Daily Bread Designs double stitched rectangle dies
brads and chipboard


http://alphabetchallengeblog.blogspot.com/2016/11/s-for-stars.html until 11/24x

http://craftingfromtheheartchallengeblog.blogspot.com/2016/11/challenge-137.html until 11/25x

http://craftyourpassionchallenges.blogspot.com/2016/11/challenge-339-always-anything-goes.html until 11/25x

http://creativeartistemixedmedia.blogspot.co.uk/2016/11/welcome-to-creative-artistes-challenge.html until 11/26x

http://classicdesignteamchallenge.blogspot.com.au/2016/11/1st-november-2016-classic-design-team.html until 11/27


won best technique!

http://avenue613.blogspot.com/2016/11/challenge-191-anything-goes.html until 11/30x

http://alteredeclectics.blogspot.co.uk/2016/11/november-nearly-christmas-but-not-quite.html until 11/30

http://countryviewchallenges.blogspot.co.uk/2016/11/november-2016-stars.html until 11/30x


Thanks so much for stopping by today!

Monday, June 27, 2016

Quick Quotes Altered Letter K

Good morning Quick Quotes readers, Alicia blogging today.  I have an altered chipboard letter I made for my step son.  He graduated this year, I hope he takes this to college with him.


I started by choosing my paper.  Then I traced the K on the back of the paper I choose.  I turned my K upside down so that my template came out correctly.  After cutting my K out of the paper I chalked up all the edges of the chipboard with Navy PowderPuff Chalking Ink.  I suggest doing this after tracing you template since you the chalk may take a minute to dry on the chipboard. 


The fun part was cutting a bunch of gears out of various papers and chalking them up with coordinating inks.  I added the brads to the center and adhered to my paper K. There were some with gear holes too big for the brads. I just added the brad to the paper then taped the gear down around it.  I then used a combination of adhesives for adhering the paper to the chipboard K.  I used mostly tape, some glue dots under the brads and a bit of liquid glue just along the edges to make sure the paper didn't come up. I find using too much liquid glue can leave wrinkles and bumps sometimes when drying.  Here are some close ups of my gears:


I die cut some chipboard with my easel die to make this guy stand up. Finally, one sweep around with my Navy PowderPuff Chalking Ink to give it all a finished look.


Quick Quotes products used:
Earth, Wind, and Fire 102, 111

other products used:
chip board
Tim Holtz/ Sizzix gear and small easel dies
brads

I would like to enter this in the following challenges:


Thanks so much for stopping by!


Saturday, December 5, 2015

12 Days of Christmas Blog Hop Day 12


Welcome to the 12 Days of Christmas Blog Hop Day 12. This hop will take place  November 24th through December 5th and the new postings each day will be posted by 8am eastern standard time. This hop will be full of wonderful ideas and inspiration to get you well on your way  of creating all of those beautiful Christmas project. This is an awesome way to get a lot of your Christmas cards, and scrapbook layouts  finished, home decorations completed and maybe even be inspired to  create something using a new technique that you have never tried.  There will be a new project posted each and every day by all the wonderful  amazing ladies in this hop. Also each day we will have a guest designer  or two for you to visit.

If you just landed here you can start with Lisa at the beginning of the hop!  If you are hopping in line, you should have arrived from Angela's blog.
We have a ton of prizes so be sure to hop and follow everyone along the way!


Honeybearz Designs:  Stamp Sets

Stampin Up:  Punches and Stamp Sets


ScrappyDew: $20.00 gift certificate


Scrappy Moms Stamps Fan Page: Stamp Set


Craftin Desert Diva's:  Stamp Set


Pretty Paper Pretty Ribbons:  $15.00 gift certificate


Pretty Cute Stamps:  $15.00 gift certificate


Kathy's Cozies:  $25 gift certificate to her Etsy shop.


TreasureBoxDesigns: Three FREE files of their choice.


My Creative Time!  Stamp Set


SVG Attic:  $15.00 gift certificate


Pink and Main:  Christmas Stamp Set


Little Scraps of Heaven Designs: (Sponsoring 2 Days)  $15.00 gift certificate each day


Jessi Buehrle: Twine bundles, and Three CTMH Stamp Sets


Scrapping Bug Designs: $50.00 gift certificate. The gift certificate excludes sale prices.


Marjorie Ann Designs: $20.00 gift certificate


Paper Nest Dolls:


Cuddly Cute Designs: 3 Free Files


Too Cute By Jessica: $25.00 Gift Certificate


KaDoodle Bug Designs: 12 $5 gift certificates 1 for each of the 12 days of Christmas.


Midge and Madge Mingle:  A fabulous gift box Valued at $50.00 Retail


SVG Cuts:  $35.00 gift certificate


Lettering Delights: 50% coupon code on any purchase of $10.00 to all hoppers and a Christmas themed free printable for anyone that visits.


My project:


I have been working on this project for over a month. I am not sure I can even describe all the things I did for this project.  I started with a Tim Holtz configurations box.  I used a great deal of Tim Holtz product on this project. I tried to dye the tree with TH stains and it was quite messy and I wasn't getting the coverage I wanted.  I ended up spraying with Ditto green spray ink, that gave great coverage.  I sprayed it on a mat then rolled it in the excess left on the mat, still messy but better coverage.


I cut the topper from a piece of TH paper with a Spellbinders label and distressed a doily with Quick Quotes Powder Puff chalking ink in latte and biscotti. The pins are from Little Yellow Bicycle and Jenni Bowlin.


I painted the stripes on the candy cane charms in the jar and tied them with metallic floss.  I also used metallic floss around the wood spool to add some festive spirit.  I used alcohol inks on the metal poinsettias and leaves.


I burned several pieces of acetate making the stained glass looking transparencies.  I love the way the argyle one turned out.


Ingredients:
Tim Holtz Configurations box
Tim Holtz Holidays Past paper stack
My Mind's Eye Lost and Found Christmas paper
Graphic 45 Santa stamp
Tim Holtz distressed poinsettia dies, matchbox die
Spellbinders die 
Tim Holtz trees colored with distress stains
Tim Holtz metal poinsettias colored with
Ranger alcohol inks
Tim Holtz pen nib, tiny knobs, feet, corners, dangles
candy cane charms painted with red stain
red and gold glitter fiber
vintage sequin strand (on tree), vintage glass drop
vintage broken pearl strand, buttons and tulle
The Paper Studio tulle rose 
misc bulbs, beads and tracks
LED tea lights
Anna Griffin crimson ink
Staz On Forest Green ink
Judikins clear embossing powder
acetate, doily, washi tape
Jenni Bowlin pen and Little Yellow Bicycle pin
bottle cap, miniature ornaments, corked bottle, key, glass knob, wood block
asst metal findings and miniature cookie cutters
Quick Quotes chalking ink Bloody Mary and Coal Miner 


I am offering my own blog candy for this hop!


Requirements:
Be a follower, preferably Google,  Networked Blogs or bloglovin
Comment every day of the hop, you have until midnight EST Dec 6, 2015
Winner must be in US, Canada or Mexico (I know I have some Canadian followers so good luck in my first candy offering to you!) 
Winner announced Wed Dec 9
Good luck! 

Next up is Miranda!


In case you get lost here's the entire line up for Day 12:

1. Lisa Pontious - http://honeybearzdesigns2011.blogspot.com
Barbara - http://spotofsanity.blogspot.com (Guest Designer)
Melinda - http://www.mypapercrafting.com (Guest Designer)
2. Madge - http://www.thescrappinlounge.com/blog
3. Ashley W - http://marinewifesscrappinlife.blogspot.com
4. Sandy Hentzel - http://www.scrapbookblessingsclub.com/
5. Elizabeth Jeanne - http://CraftsByHappyStamper.com
6. Angela - www.crazy3monkeys.blogspot.com
7. Alicia - www.goldengoddessdesigns.blogspot.com
8. Miranda - www.nanasscrapspot.com
9. Daphne - http://craftyscrapsofstuff.blogspot.com
10. Rhonda - craftingwithblue.blogspot.com
11. Charmagne - http://www.sanurascraps.blogspot.com
12. Robin - http://create-a-latte.blogspot.com
13. Barbara- http://barbarab3.blogspot.com
14. Lisa F - http://lisaslittlerascals.blogspot.com
15. Sharondalyn - Http://www.clippingsbysharondalyn.blogspot.com
16. Jessi - http://www.mylifeinartsncrafts.co


I would like to enter this in the following challenges:

http://craftycardmakers.blogspot.com/2015/11/153-twas-night-before-christmas.html until 12/12
(stockings hung,  visions of sugar plums i.e. candy and cookie cutters, Santa stamped transparency)


http://sparklesforumchallenges.blogspot.com/2015/11/challenge-74-anything-but-card.html until 12/13x

http://www.crafting-with-dragonflies.blogspot.com/2015/12/49-let-loose-anything-christmas-card.html until 12/18x

http://creativeartistemixedmedia.blogspot.co.uk/2015/12/challenge-9.html until 12/30

Top 3 Badge

http://www.vintagejourney.com/2015/12/vintage-christmas.html until 12/30 Pinworthy!!


http://stampingwithdragon.blogspot.co.uk/2015/12/december-vintage-christmas.html until 12/30x

http://die-cut-divas.blogspot.com/2015/12/are-you-warm-and-cozy.html until 12/31x

http://alteredeclectics.blogspot.co.uk/2015/12/25-days-to-christmas.html until 1/31x


Thanks so much for stopping by!

Alicia