Wednesday, November 30, 2016

For My Little Monkey-child birthday card


This is the card I made for my nephew's first birthday.  I have been saving this stamp and die set from Our Daily Bread Design's for this occasion.  I also really like how the embossing folder made a simple but perfect background.


Ingredients:
Stampin Up punch
Darice embossing folder
Mix'd Media truffle ink
misc alcohol and distress pens
Quick Quotes Green with Envy chalking ink
Bazzill paper
white cardstock


I would like to enter this in the following challenges:


Honorable mention!


The vines and cute animal/sentiment were inspiring.  Instead of coloring I used an embossing folder to create my surrounding leaves.  

Thanks so much for stopping by!

Alicia

Tuesday, November 29, 2016

Creative Memories Simply Beautiful with Stuck?! sketch

I told you I made a lot of layouts this past weekend.  Here's another where I had already completed the opposite page.  I choose the same Creative Memories power palette which to complete this one.  They don't match but they compliment.


Here's the sketch:


Some of the details of my layout:


Ingredients:
Creative Memories Simply Beautiful papers and embellishments
Momenta wood flourishes
misc brads
Quick Quotes Java chalking ink
Zig brown pen
border maker

I would like to enter this in the following challenge:


Thanks so much for stopping by!

Alicia

Monday, November 28, 2016

Creative Memories Peacock and Stick it Down double page sketch

Good morning!  I told you I would be back with more pages from my honeymoon album.  I used a sketch from Stick it Down for these pages.


Here's the sketch:


Some of the details:


Ingredients:
Creative Memories Peacock collection (paper and stickers)
sequins
Quick Quotes Navy chalking ink

I would like to enter this in the following challenge:


Thanks so much for stopping by!

Alicia

Sunday, November 27, 2016

DCWV Far East and November Stack-a-holic challenge

I had a chance to scrap this weekend.  I have completed about a dozen pages over the past couple of days.  I have transferred the completed pages of my honeymoon to an actual album.  I have about 18 pages left on the first album.  This vacation will take two albums.  This page is one the first as it was our first evening at the resort. 


I used the sketch from the DCWV November Stack-a-holic challenge.


Here are some of the details.  Expect to see many more pages of this album in the coming days.


Ingredients:
DCWV Far East stack and embellishments
DCWV Green Mint Porcelain paper
border punch
heart shaped doily
Recollections enamel dots

Thanks for stopping by!

Alicia

Saturday, November 26, 2016

Happy New Home card with Spellbinders Aristocrat

Good morning Alicia here today with a Happy new home card.  As soon as I saw the Die Versions Whispers Grandfather clock I envisioned a scene.  I found the Spellbinders D Lites Artistocrat a perfect fit in my new home scene.  I had fun piecing together several cuts in different papers to create a detail.  I added both cuts to a wallpaper feeling background paper to create my warm home like scene.


I cut both the clock and deer out twice using different papers.  I then cut pieces apart and put them back together mixing the papers.  Some of the pieces were pretty small, I found a precision glue pen the best to adhere.  I also fussy cut a back piece for the inside of the clock out of chipboard.  I used chalking ink to color it brown.  I inked all the edges with the same chalking ink, I find this adds cohesiveness to the piece.


Here are some pictures of the details:


Dies R Us products used:
Spellbinders - D-Lites - Aristocrat
Spellbinders D Lites Artistocrat

CLOSEOUT - Die-Versions - Whispers - Grandfather Clock
Die Versions Whispers Grandfather clock

Other products used:
Creative Memories papers
Stampin Up Holiday Home sentiment stamp
Colorbox Mix'd Media Truffle ink
Quick Quotes Java chalking ink
misc papers and ribbon


Please remember, each and every day of the month there's a new inspiration sample shared here on the blog by this fabulous design team.  Please be sure to pop in regularly.
And don't forget to come join in the fun at the Dies R Us Challenge Blog.  There's a new challenge theme offered on the 1st and 15th of each month and one lucky randomly drawn winner will receive a gift voucher prize to the Dies R Us Store.  For your convenience, all the important Dies R Us links are provided below. 

click below for:

Thanks so much for stopping by today!


Tuesday, November 22, 2016

Off the Page: Quick Quotes Altered Letter

Good morning Quick Quotes' readers, Alicia here today with an altered project for you today.  I must admit this project has been in the works for some time.  But when I received the new Quick Quotes Winter Bliss collection, I was finally able to accomplish the project I envisioned.

My nephew's room has arrow accents and it blue and gray.  The new Winter Bliss blue arrow paper was just perfect to cover the chipboard letter.  I distressed it with Coal Miner PowderPuff Chalking Ink and some stencils including the Want 2 Scrap Brick stencil.  I also used some texture paste with a stencil or two to give the project some dimension.  I also added plenty of arrows, some metal and some cut with templates.  I also cut some other shapes out of the Winter Bliss papers and added various embellishments.


I also created a chipboard frame on the letter.  I die cut the frame with nesting dies, chalked it up with Coal Miner PowderPuff Chalking Ink, then attached the frame to a chipboard backing.  Once I cut the picture down to fit, I measured and wrote the dimensions inside the frame so my sister in law can replace the photo as she sees likes.


Quick Quotes Products used:

Want 2 Scrap products used:

other products used:
Clear Scraps 6x6 gears stencil
Tim Holtz Starburst stencil
Tim Holtz Arrows and gears (metal embellishments)
Cricut Fontastic font
Creative Memories star punches
Kiwi Lane templates: Playtime 6, Adventure 1 & 2, Explore 2T & 4T
Art C Silver texture creme
Our Daily Bread Designs double stitched rectangle dies
brads and chipboard


http://alphabetchallengeblog.blogspot.com/2016/11/s-for-stars.html until 11/24x

http://craftingfromtheheartchallengeblog.blogspot.com/2016/11/challenge-137.html until 11/25x

http://craftyourpassionchallenges.blogspot.com/2016/11/challenge-339-always-anything-goes.html until 11/25x

http://creativeartistemixedmedia.blogspot.co.uk/2016/11/welcome-to-creative-artistes-challenge.html until 11/26x

http://classicdesignteamchallenge.blogspot.com.au/2016/11/1st-november-2016-classic-design-team.html until 11/27


won best technique!

http://avenue613.blogspot.com/2016/11/challenge-191-anything-goes.html until 11/30x

http://alteredeclectics.blogspot.co.uk/2016/11/november-nearly-christmas-but-not-quite.html until 11/30

http://countryviewchallenges.blogspot.co.uk/2016/11/november-2016-stars.html until 11/30x


Thanks so much for stopping by today!

Sunday, November 20, 2016

Grateful Card: Quick Quotes Shades of Grey with Sketch N Scrap sketch

Good morning!  Today is the final sketch of the month for Sketch N Scrap. I used my go to daisy stamps and dies from Heartfelt Creations.  However this time I went simple, I used a dye ink (so no embossing) and just die cut the flower.  I thought there were plenty of layers of pretty papers and I didn't need a grandeous flower.  I think it still turned out very pretty with the Stampin Up Dusty Durango on the Anchors Aweigh 101 paper.  


Here's the sketch:


Ingredients:
Stampin Up Dusty Durango ink
Heartfelt Creations Delightful Daisies stamp and dies
Creative Memories tag punch and circle punch
Spellbinders large scallop circle
misc sentiment stamp

I would like to enter this in the following challenges:


Don't forget to play along with us at Sketch N Scrap!

Alicia

Friday, November 18, 2016

Give Thanks Blog Hop with Scraps by Gracie


'Thank you' is the best prayer that anyone could say. I say that one a lot. Thank you expresses extreme gratitude, humility, understanding. 
Alice Walker

Welcome to the Give Thanks Blog Hop!  I am the first stop in the hop if you are lost this is the beginning (Alicia's blog).  As we approach the holiday season, I think it is appropriate we should reflect on things for which we can be thankful.  We can be grateful for the little things and we should be grateful for the big things.  We should take the time to give thanks for all the persons and moments that make our lives so special.  

Sooooo, we would like to say a HUGE THANKS to our sponsor today.


Theresa is giving away a $20 Stampin' Up Gift Certificate to one lucky winner AND
take 10% off any order placed through her (not available on website) by November 30th. 
Email her at scrapsbygracie AT gmail.com with your order. 

All you have to do to win this fabulous prize is comment on each of the blogs.
That's it! It really is easy.  
Of course, we would love it if you became a follower too. 

Comment buttons can be found at the bottom of the post (on most of the blogs).
Now on with the hop!

I created a card for the occasion.  I made a simple paper mask for the grassy yard.


I am not that great at coloring...I tried to make the window emit "light".


Ingredients:
Stampin Up Holiday Home & You Brighten My Day punches and dies
Stampin Up Dusty Durango ink and paper
Stampin Up Delightful Dijon paper and ink
Brilliance Graphite Black ink
Colorbox Mix'd Media Truffle ink
Distress inks:  Fossilized Amber, Candied Apple, Peeled Paint and Frayed Burlap
misc ribbon

Up next is Sue!

Here is the entire line up in case you get lost:


I would also like to enter this card in the following challenges:

Thank you so much for stopping by!

Alicia


Thin die storage hack

Good morning dear readers!  I want to express how thankful I am for your following me and I promise some candy coming for December.  I have just been a bit overwhelmed with family commitments the last few weeks and of course, with the holidays in the next weeks to come.  I have not been playing along with many challenges.  I feel like my mojo is lacking...although I just love the few projects I have completed.  The last mini album I made just tickles me pink!  And I have a few wonderful items in store for next week.

I have been spending some time in my craft room just not creating but reorganizing.  I follow Totally Tiffany's organizational methods.  She offers FREE classes on a regular basis and some great organizational products.  But as I am sure like most of you, I just can't buy everything I want and sometimes we need a fairly easy and much cheaper hack.  I have one for you today.

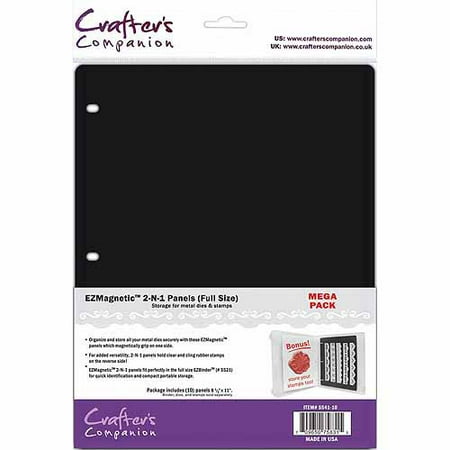
I wanted to use these magnetic storage sheets but they are expensive. The cheapest I found in a two pack is Walmart with free shipping (link in pic) and direct from Crafter's Companion you can buy them by the 10 pack for $45ish and I didn't check shipping.  I recently received a two pack from my Scrapbook Secret Sister and they are wonderful but...I can't afford to get the amount I need.

Image result for crafters companion magnetic sheets

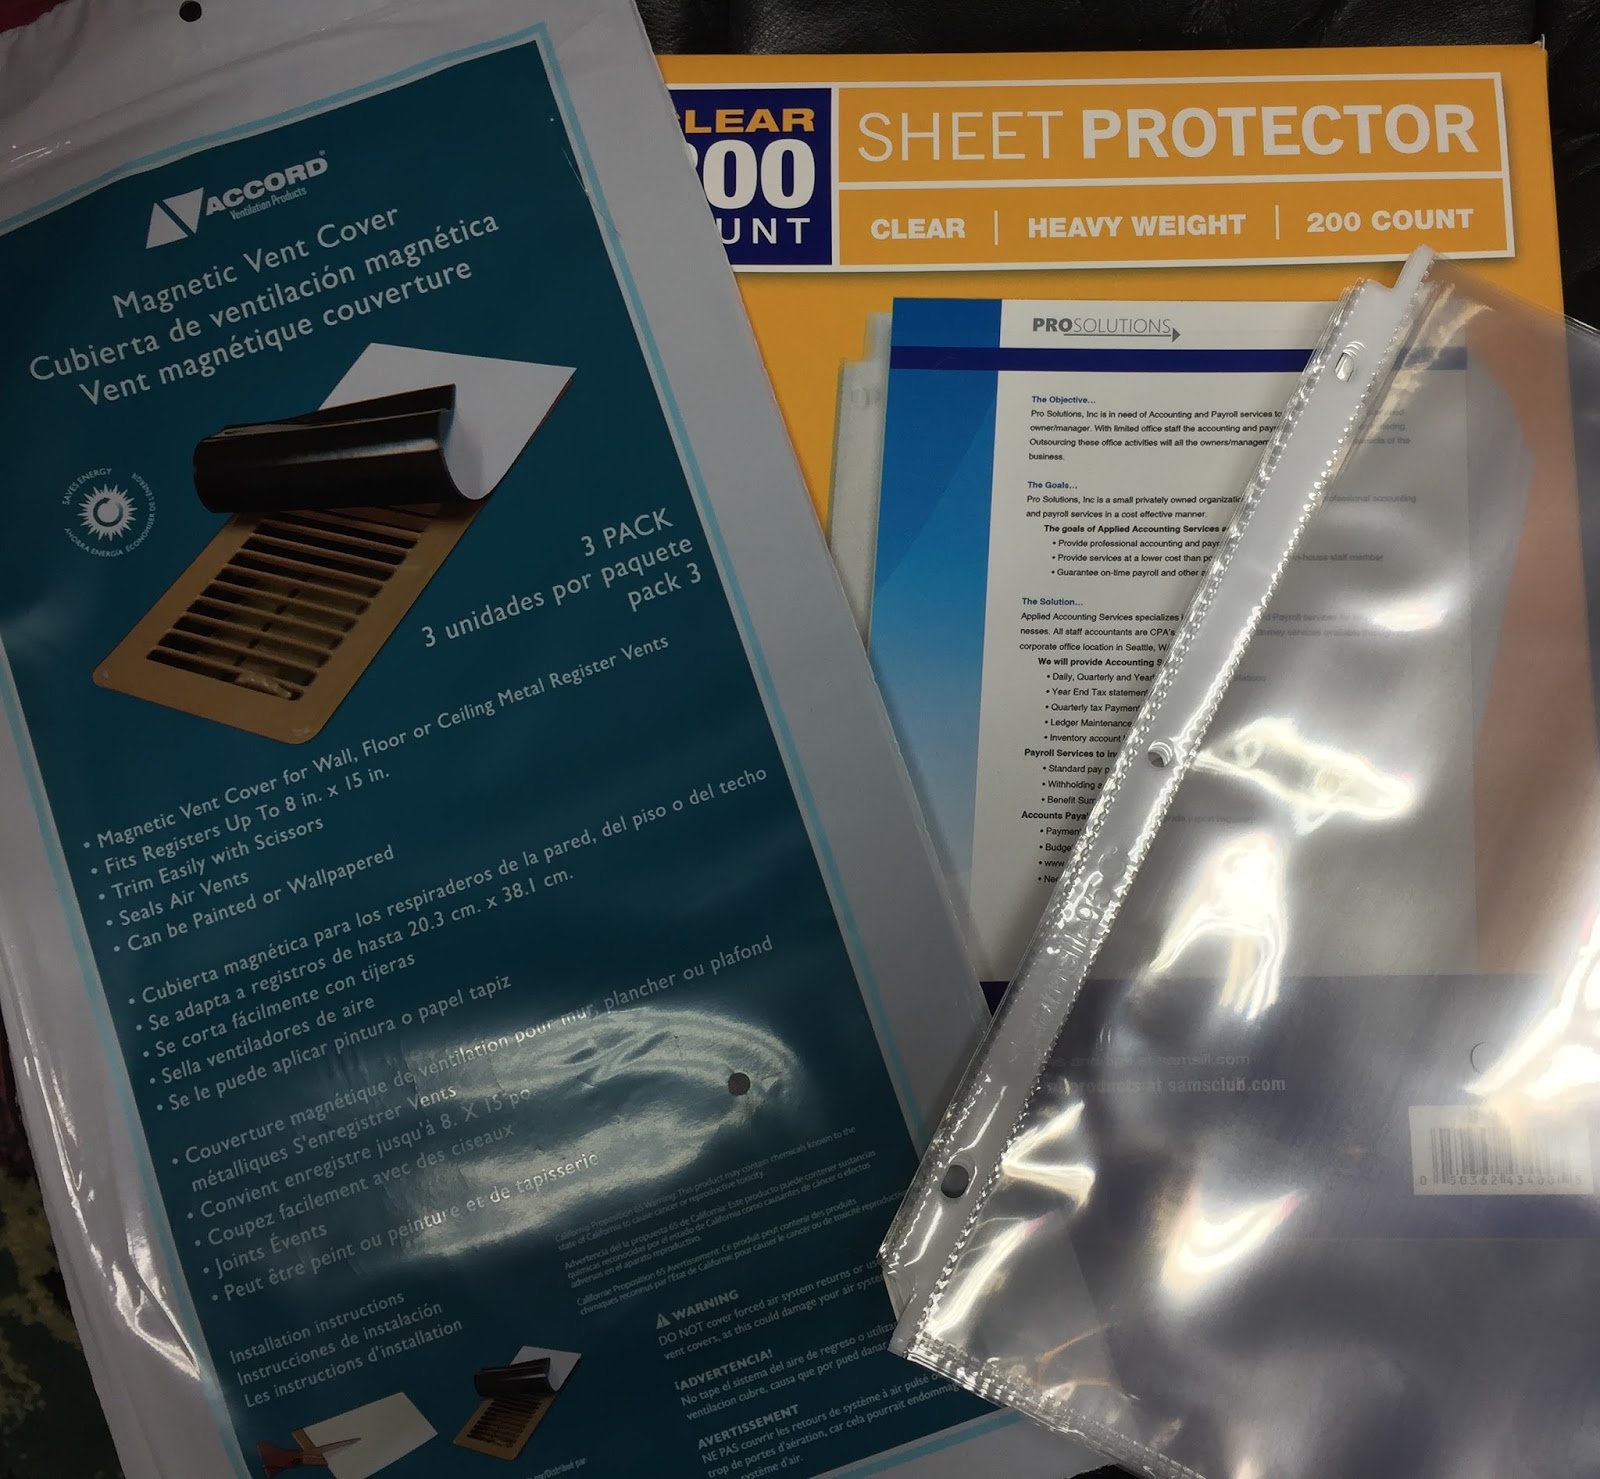
I had already used the Magnetic Vent covers to cover a cork board and place my most used thin dies (circles, rectangles, etc) on the wall next to my die cutting machines. These are a 3 pack of 8x15 for less than $5 at Lowes.  I had a free Lowe's gift card...so free for me!


After some trial and error I decided using a sheet protector to make sure if the dies pop off while turning pages they fall inside the pocket.


The magnetic sheets are very easy to cut with a trimmer although I advise using an old blade.  It definitely wore it out after cutting 15 sheets. 


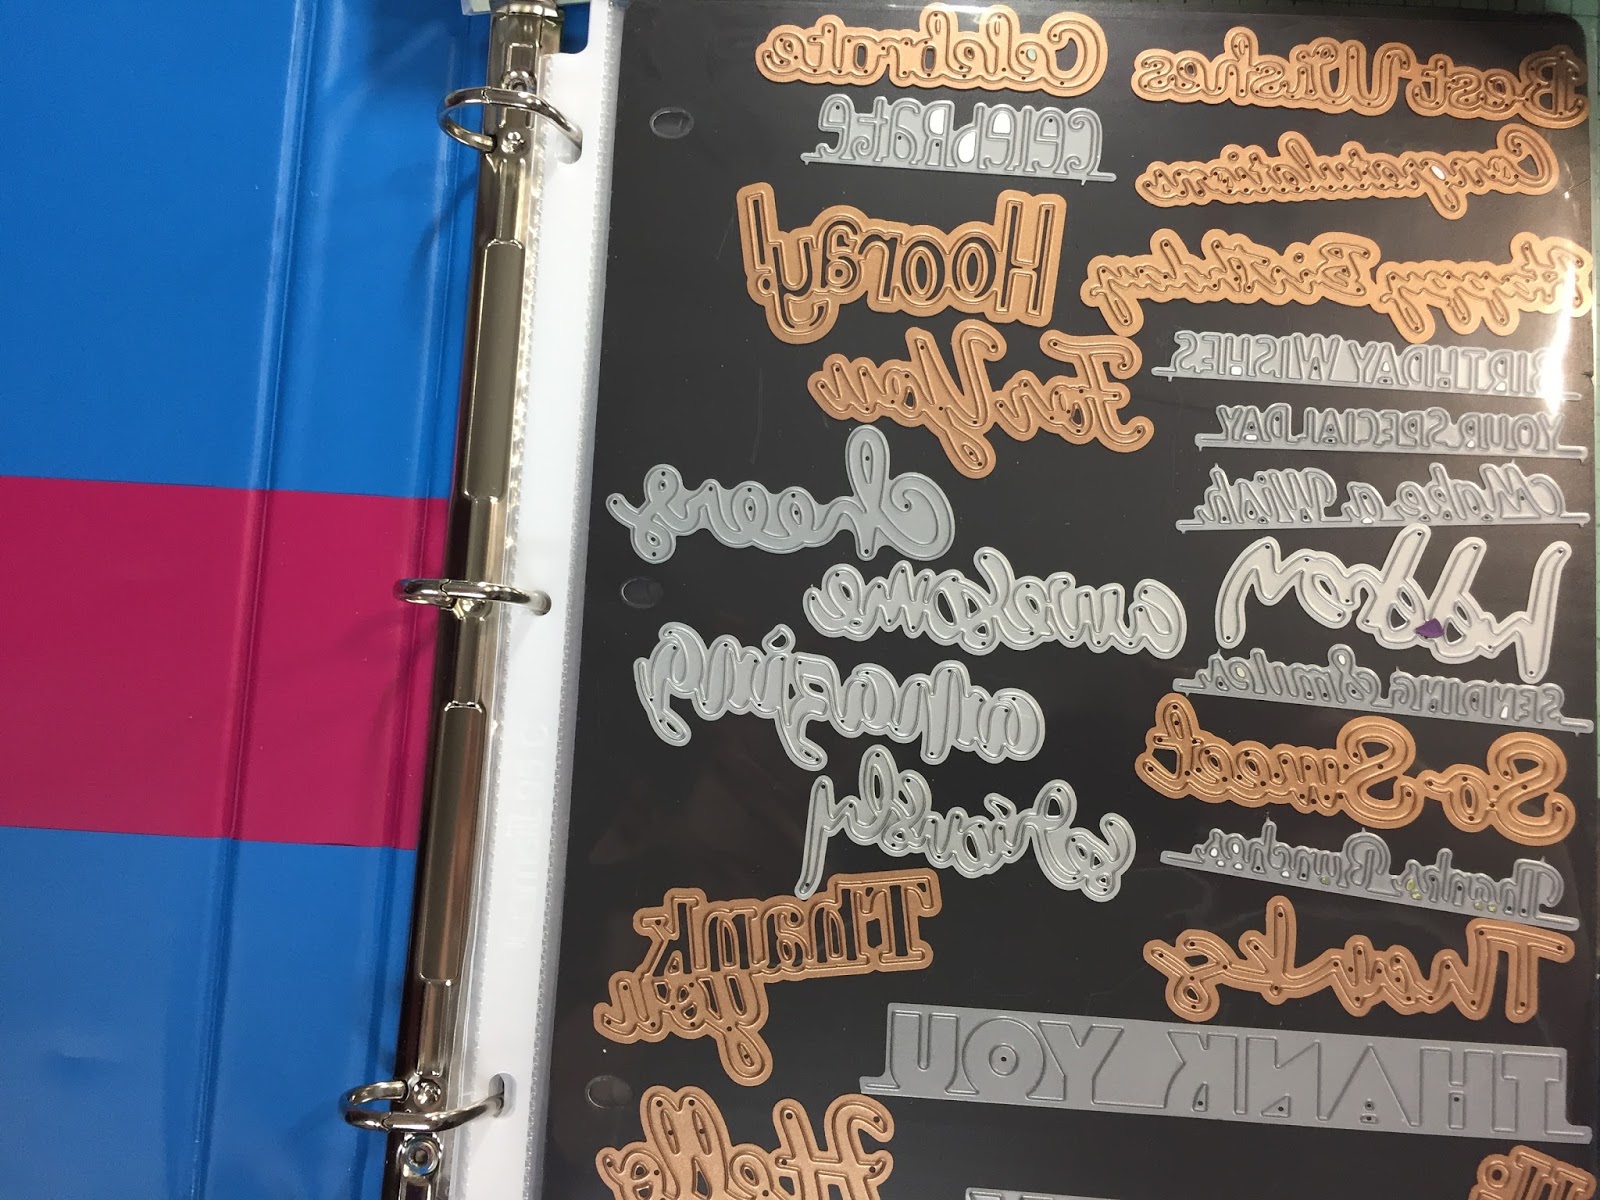
At first I just used a 3 hole punch directly on the magnetic sheet so some of my sheets have holes.  The first page is my newly expanded sheet of word dies and it on the "original" product.  I used my two "originals" as the first and last page in my binder for sturdiness.


The pages are only 8" wide instead of 8.5" and the page is thinner. By using the page protectors it added some extra sturdiness but it is still not as thick as the original product.  However, it works for me!  Below are the sheets containing flowers and leaves.


As you can see the one side of the vent cover is white and your stamps will cling to it just as on the "original" product. I however, store my matching stamps and dies in another place using a different method with which I am pretty satisfied.  For this project I was looking for something like my the board on my wall that was easily accessible, where I could see what I have but I didn't need these dies right next to my station.


So I added the new binder to my binder area within reach of my primary chair.  BTW the binders were also FREE from my workplace.


This is not a very good picture, this stack was a few inches DEEP!  So much packaging that I am not using, but I am not throwing it away.  I am too much of a hoarder...but really every piece I kept has important information I may need about the product.  I disposed of most all of the plastic and extraneous packaging.  When I added this to my stash of old inserts...I found a label from a set I had been searching for the name.  I had searched everywhere and even inquired on Totally Tiffany's organizational Facebook page! No one knew the answer, but it was on the original packaging I had saved!  Sometimes it is good to hoard...or I will tell myself.


Thanks so much for stopping by!

Alicia