Showing posts with label The Scrap Rack. Show all posts

Monday, January 26, 2015

Organization Methods


Tomorrow starts the new Get Organized challenge with Tiffany at The Scraprack!  This will be my fifth time through...although I don't pay as much attention to each step as I used to do.  I have made my way through most of the steps just a few areas to finish cataloging.  If you don't know anything about Tiffany and The Scraprack, you really should check it out.  There is also a very supportive Facebook Group, you can get almost any question answered immediately and all kinds of great storage ideas are suggested.  I did acquire an actual Scraprack this year which I will highlight when I get my new room together.

For now this is what I have to show you.


I just recently purchased the Jinger Adams Over the door armoire at Tuesday Morning for only $99.  I have it over the door in my new room and have not completely utilized it yet.  I discovered the best use for the pouches when I was cataloging my stickles and paint pens, I temporarily put them here to have them upside down and decided this was a fantastic place for them!  I had them in a plastic tub before which doesn't have them ready to use like this area!  They are also very accessible once I start using this room.  I am also happy to have another category cataloged.


I have still not figured out what I want to store in the bottom portions of both sides.  Washi tape fits nicely on the left but I have way too much and most are organized with my rainbow embellishments.  The black and whites and themes are in my We R Washi Keeper,  I acquired the new stackable ones recently.  It is not quite full since most of my washi is elsewhere, so this is the storage I am sticking with for washi.  The paper tapes on top are just a little bit big for the dispenser and the containers in my armoire.


Here is my rainbow section.  If you look close enough you will see there is a container for each color's paper and embellishments.  Some colors need more room since I have boys those colors are blue and green.  You can see the washi's and ribbons lined up in the front of the container for easy viewing.


I have a lot of punches!  They are stored in a bin, divided into three drawers:  basic shapes, those that match stamps and decorative shapes.  These are still on my to-do catalog list.


This is how I store my embossing folders.  I am re-purposing an old Creative Memories storage binder and inserts.  The block storage that has 4 pockets on each side and therefore hold 8 embossing folders each. 


Here's a page.  I have one side of the folder hanging on the outside of the pocket for easier viewing.  I have them organized by themes and shapes.  These are also on my to-do cataloging list as well.


Another Tuesday Morning find!  I was looking for something to store my Kiwi Lane Designer templates.  I had them in an iris container but it was not good for finding what I wanted quickly.


I found these in the closet organization section.  You can hang them anywhere!


I hope this gives you some ideas for organization of your crafty goodies and a point in the right direction if you are looking to get started on organization plan for the new year.

Thanks for stopping by today!

Alicia


Tuesday, March 11, 2014

Latest pictures of my studio...

So I saw this article about artist studios recently and thought it was interesting:

It made me want to document my every changing studio.  I did a "10 second tidy" (moms with certain age children will get this one). In reality it was an all day tidy and then I took some pictures.  After the looking at my pictures I made a few more changes.  It really helped to look at pictures of my junk to determine the best place to put it, and no not on the curb as my husband would like...

Here are my pens, I used to keep all the types of pens separate i.e. markers, stamp pens, gel pens.  I finally decided to organize them in a rainbow.  It is working so far! but I have not gotten around to cataloging my colors yet...as per Tiffany's Scrap Rack organizational challenge:


A view from my seat.  I have already re-organized the ribbons on the spools at the bottom of the display.  The small spools fit just fine in my "rainbow" iris containers, so I made these ribbons holders all large spools that are bulky in my "rainbow" iris containers and "rainbowed" the colors which was already in the beginning stages.


You can see my handy color chart of inks within arms reach of my chair.  (Pinks are showing).  I have cataloged inks, mists, and embossing powders.  Still need to do  paints and pens.


My small embellishments (brads and buttons) are "rainbowed" in small bead containers.


The RAINBOW of Iris containers!  This is my go to for EVERYTHING!  I am amazed at how quickly I can find exactly what I am looking for for at any given time!  Just the right red or green paper or embellishment found with ease!


My hand made Scrap Rack (an old catalog display from my office) on top of an old cart covered in tie dye duct tape (also from my office).  I have "collections" still in the 6 carry containers underneath.  The cart rolls so that I can use the A/C in the window in the summer.

The two CM containers contain all my 8.5x11 cardstock for cardmaking.


My bead space....


Storage for less used catagories. Paint and mixed media storage.
I have already changed this all around!  It just looked so junky.  I didn't like storing on the floor either.  So now there are some of the iris containers on the floor on top of the mixed media storage.


Pink containers are stamps.  The stack on the floor is sorted and the stack on the shelf is unsorted.  After this picture I felt like I was slacking and cataloged two more containers!  I am very near the halfway mark in cataloging all of my stamps!!  My fingers are still inky!!

The blue containers are power layouts.  I have a couple of albums already in progress.  One is four containers equaling about four physical albums and the other is two.  I don't know if I will be able to fit the two (one and a half) containers into one physical album.  I hope so, it is my honeymoon album.  The rest are full of open packs of pages and protectors.  The shelves are full of unopened albums, protectors and pages.  My completed albums are stored in the china cabinet which at this time is at least 35 or so...


I have also moved my cricut cartridges to the end of the green shelves.  The look really neat and are really accessible.  The junk on those shelves has been distributed elsewhere...


Some paper stacks and papers that I have multiples of (12-25 of each) and some kits are stored here:


My straight stand has only cardstock, not papers.


Here you can see underneath my desk.  The brown accordion folder is full of CM ABC stickers.  My patterns are handy to cut shapes!  The blue container on my desk contains my acrylic blocks, very handy.  My hubby took some of those out of his truck (for parts) and said can you use these?  I can't stack on top of this one because some of my acrylics are large, but I love having them so handy and I can just throw them in, unorganized but still organized!


My most used categories:  calendar year is in the rack on the left and boy stuff and travel on the right.  CM collections are stored in the clear containers on either side.


Under the other table:  One drawer set has punches in two drawers and adhesives in the bottom and the other is all old SU sets still in there plastic containers.  I have not been able to bring my self to take my wood block stamps off the wood.  I see the benefits in space, but I still like them.  I just have vowed not to purchase any more.  


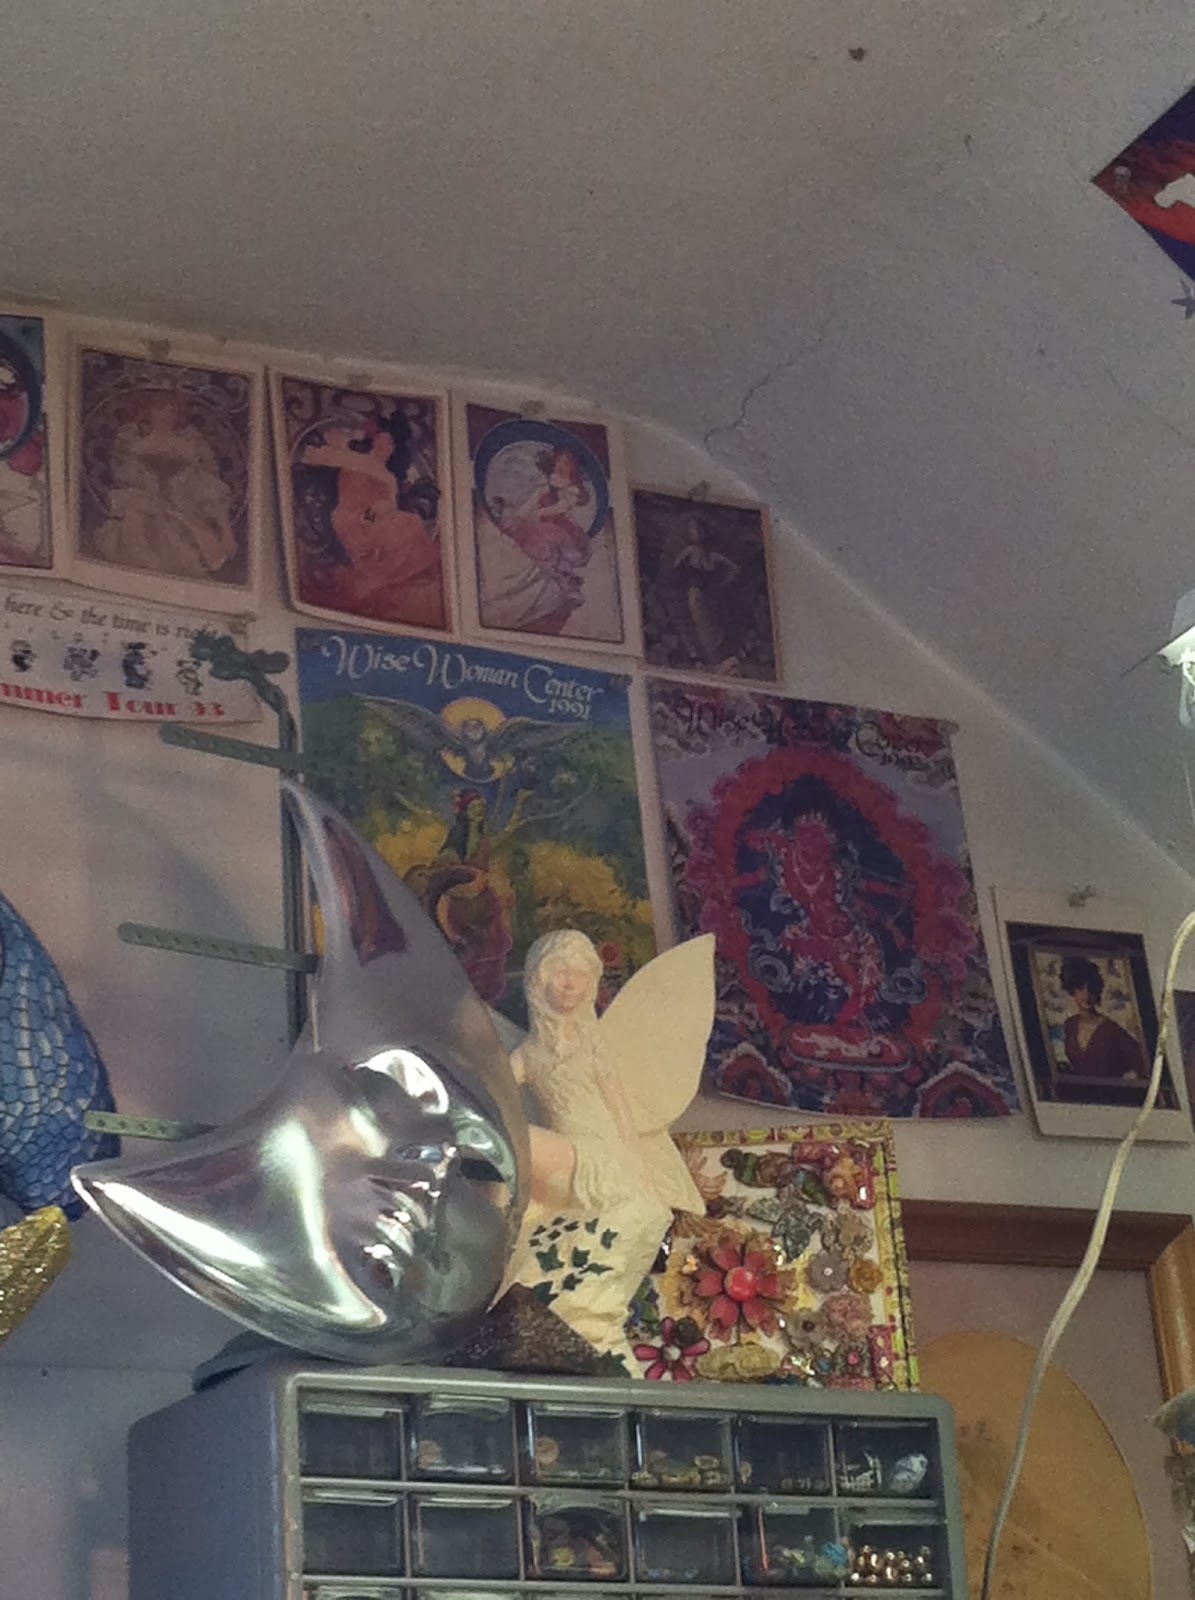
As you can see I have lots of junk around my room~art if you want to call it that...this is a "toy" my friend and I created jointly at my son's bday party at The Toy Lab one year.  It is very special to me.


A display I used to use in my jewelry booth before it started falling apart.  It is better to not travel with it.  I also made the gourd.  It is one my now deceased grandfather harvested.  I used blues and purples, it is my "Mourning gourd" as I created it after his death.  I also created it around the time of a friend's father's death, so it is in mourning of the "Great Father/Grandfather".


A half way finished ceramic fairy....someday!  One of my first altered cigar boxes is behind it.  Lots of brooches, beads and broken jewelry on it.  


A view from the door.


My Sizzix big shot and dies are in the large iris containers on the floor underneath the extra table (and my garbage can).  I brought this table out for a friend to work on...my son now uses it most.  I am trying to keep it clear to be able to throw the big shot up there or sort through things easily.  

The other side of the room:


Cataloged stamps, now even more!


Uncataloged~now a smaller stack!  The green container on top has embossing stuff.  I have to laugh seeing the hair spray...I use more hair spray in crafting than on my hair!!


Power layouts


The dark green are sorted by manufacturer.  I have Paper Loft all together because I am on their design team.  I have Graphic 45 scraps and stamps together.  Letters are in the clear containers~now on top of mixed media.


Memorabilia, not great, but hey at least I have one year in one container! 


A beautiful doll from
 another artist and my latest award!


Thanks for stopping by and taking a look today.  I hope I didn't bore you with my studio tour...Be sure and check out Tiffany Spalding's Organizational Challenge!


Thursday, September 19, 2013

The Scrap Rack Organizational Challenge~Embossing Powder

First of all, I am not in sync with Tiffany Spaulding's current 2013 Fall Get Organized challenge found here:  http://thescraprack.easystorecreator.com/2013-Fall_Get-Organized_Challenge-Tiffany-Spaulding-The-Scraprack-Tiffanize.asp.  I took the challenge originally in January, refreshed with the last one and about to refresh with the current lesson.  I have made extreme progress in "Tiffanizing" my stash.  I am still constantly sorting piles and storing in my organized area.  Her theories are life changing.  I have been able to utilize my stash so much more than I would have ever thought possible!  Of course, I still have thousands of stamps to catalog!  I have completed my inks and chalks and it is easy when I purchase a new color to add to my chart.  Now I have found myself "playing" with my embossing powders trying to find the best combination for the project. Time to Tiffanize! I was also inspired by Judikins' booth at Stampaway.  She has samples of all her embossing powders in a clear embossing ink and a black.  This is PERFECT to determine the range of colors you will get although not all the combinations you can come up with, it gives you the information to decide QUICKLY which powder to use.  I don't have that many so this was one of the quicker Tiffanizing projects.  I used stamps with details to be able to quickly judge how fine the powder.  I made two copies, one to store with my ink and stamp catalogs and one to cut up and store with my "rainbow" section. I have also organized them on the paper in a rainbow method. Finally, I wrote the name of the powder under the sample.  I have used 8.5 x 11 paper just as I have for the ink and stamp catalog for easy storage in a 3 ring binder (eventually).  For more information just check out Tiffany's website.  You DO NOT need to buy her product to participate but she has designed these products with her methods in mind.
My embossing powder list ended up a little messy, do you know how glittery I was when I was done with this?


Thanks for checking out my blog!  Have a great day!

Friday, August 9, 2013

Ink Color Chart and Organization


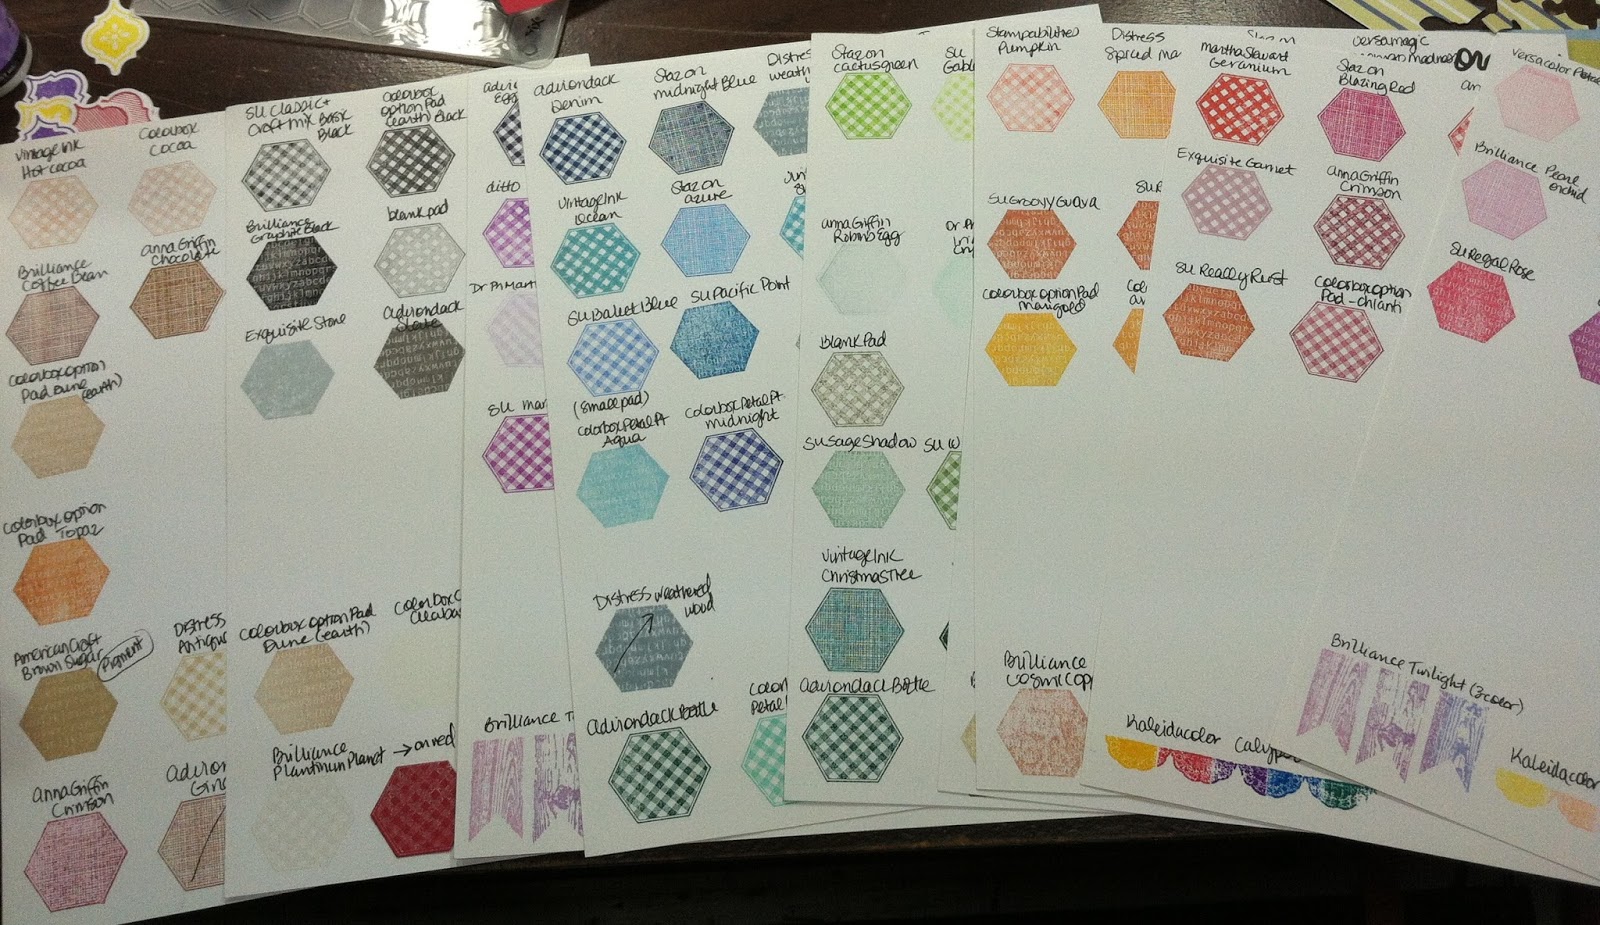
During a recent card making session,  I finally broke down and took the time to "Tiffanize" my inks and chalks.   Tiffany Spaulding has a great organizational tutorial available a few times a year, The Scrap Rack Organizational Challenge.  http://www.thescraprack.com/  I started this challenge in January and I am a "have a lot" so I am still in progress of this challenge.  It only took about 3 evenings to complete my inks and chalks, but now I have a chart with all my colors!  This makes life so much easier, I pull out my chart and match up the particular colors I am using...next for the embossing powders!  I spend so much time playing around with embossing powders, it will make crafting more efficient to have that chart completed.  It is also very easy to add new inks as I acquire them.


Here is a picture of my ink chart.  I used the Stampin Up Hex set to sample my inks.  This is before I added my chalks.  I decided to stamp them with a different shape, so without even thinking I will know if it is an ink pad or a small chalk.  I also used a different stamp for rainbow ink pads.


Here are my inks in their cubby.  I keep my chalks which are mostly Colorbox cat's eyes and Quick Quote's powder puffs in more of a drawer I can "rummage" around in to find the colors I need quickly.

I am also about half way through with my stamps which is a huge undertaking.  Cataloging thousands of stamps, I just don't know how long that will take. 

I am sure I will purchase more tonight and tomorrow at the Stampaway Convention at the Sharonville Convention Center. http://www.stampawayusa.com/ I will be working for Judikins during the convention, if you are in the Cincinnati area for the convention come by the booth and say hello. http://www.judikins.com/ I am sure I will have some new goodies to show off next week.  I also have a blog hop next weekend celebrating a fellow bloggers birthday! http://carterscraftingcorner.blogspot.com/

I know I haven't posted as much this week, I AM crafting just making a lot of card swaps and wedding invitations.  I will show off these projects after they have been received by the recipients.  Thanks for reading my blog and have a blessed day!