Monday, July 30, 2018

It had to be you...Creative Memories Reminisce wedding layout

Welcome to my blog today.  Guess what I have to show you today?  Another wedding layout.  I am getting closer to completing this album by the day!  I used the Creative Memories Reminisce power palette on many pages because the colors work so well with the stained glass in the wedding venue.  I used manual and electronic die cuts on this one.  Great shot of my hubby watching me walk down the aisle.


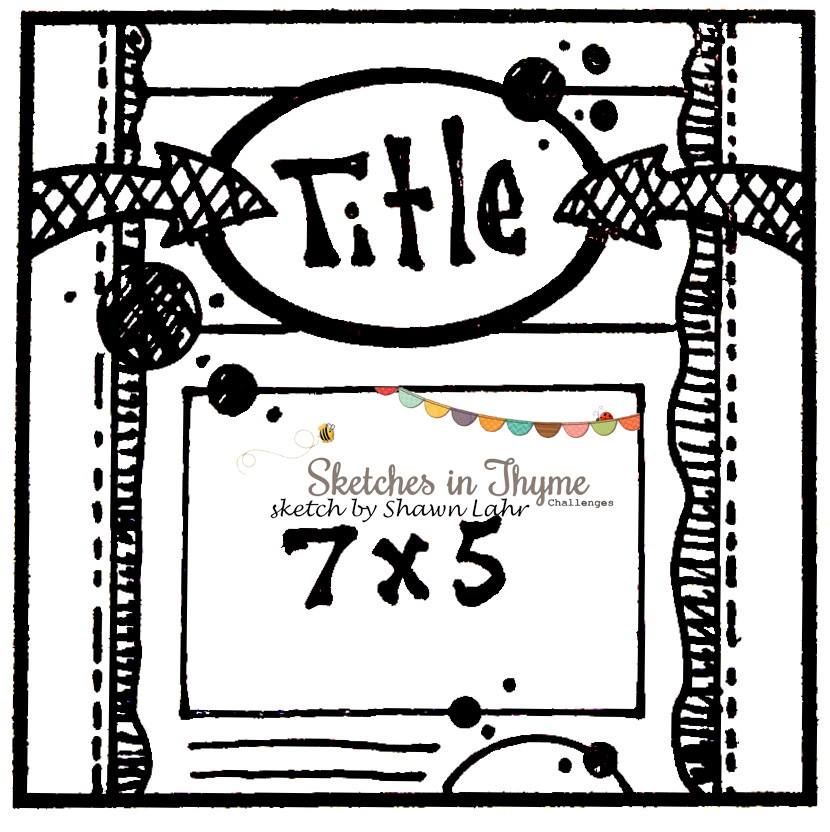
Here's the sketch I used from Sketches in Thyme.  I turned it 90 degrees.

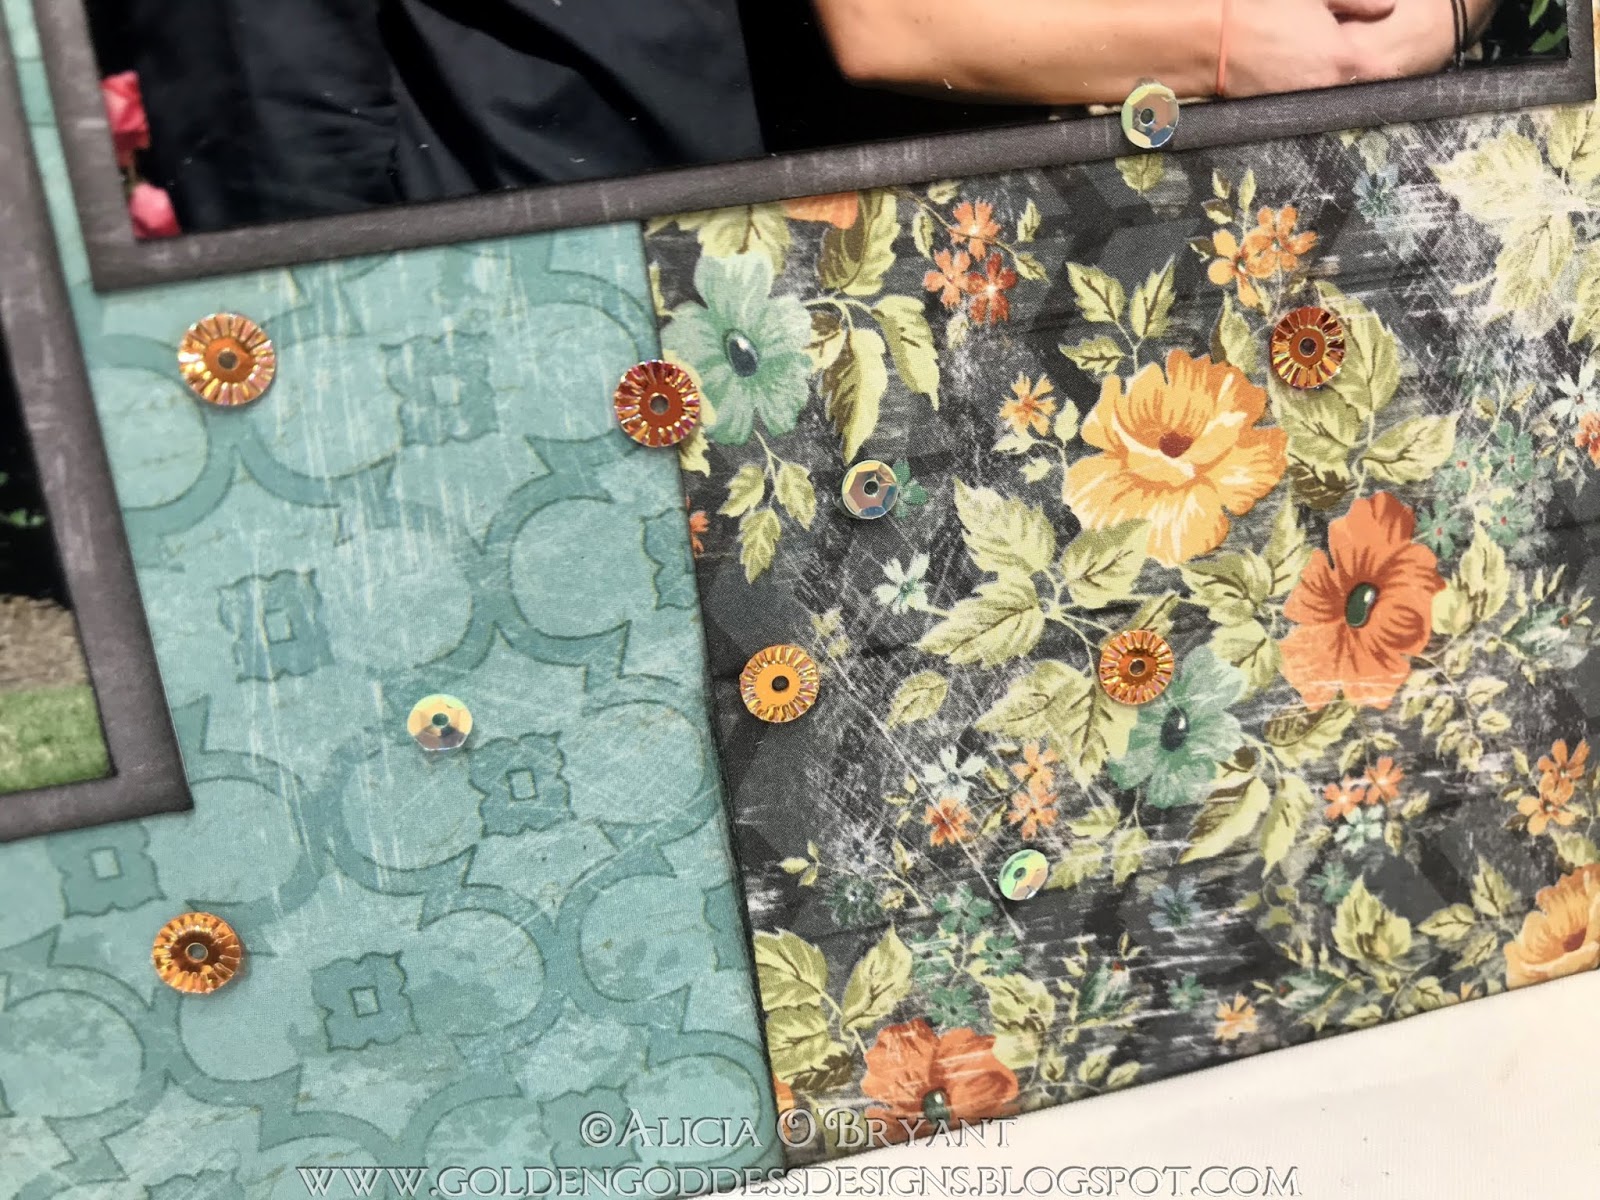
 A close up of my cuts:


Ingredients:
Creative Memories Reminisce Power palette
Cricut cuts from Creative Memories Reminisce Accents and Divine Wedding carts
Creative Memories Border Maker system
Stampin Up buttons
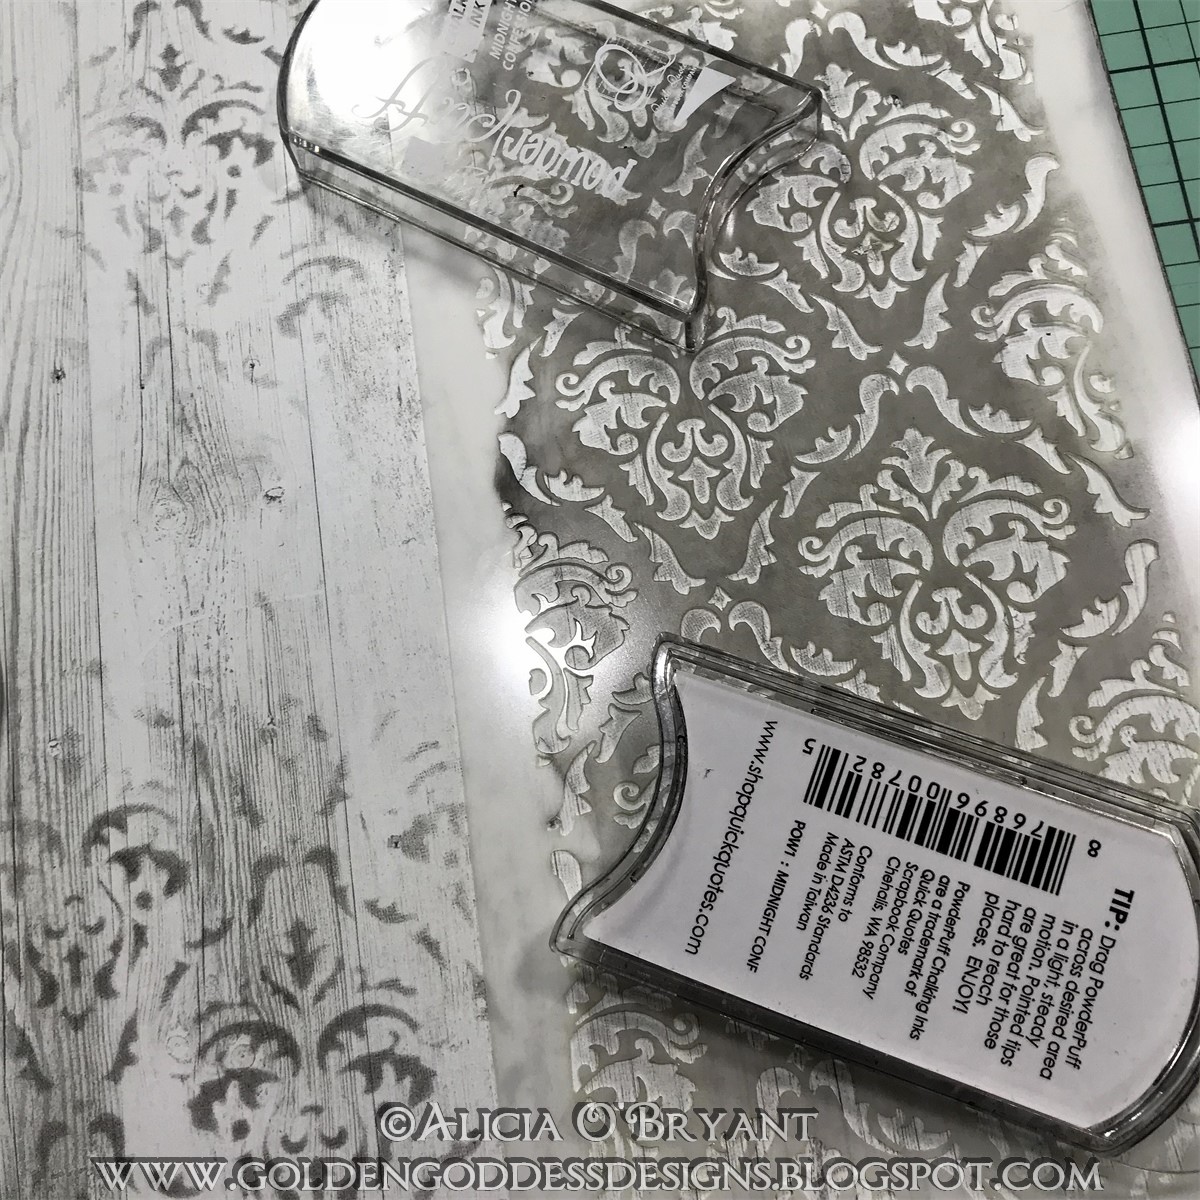
Quick Quotes Midnight Confessions chalking ink

I would like to enter this in the following challenge:


Thanks so much for stopping by today.

Alicia

Saturday, July 28, 2018

Creative Memories Black and White, Mother & Son layout

More scrapbooking on my wedding album.  We were really lucky it was a beautiful day but all the sun made for a lot of squinting.  My son was also not very happy to be photographed.  


Here is the sketch I used from Let's Get Sketchy.


Here is a close up of the details:


Ingredients:
Creative Memories Black and White power palette and black pen
sticker letters
sequins
pearl drops
Spellbinders ampersand die


I would like to enter this in the following challenges:


Thank you for coming by!

Alicia


Friday, July 27, 2018

Graphic 45 Domestic Goddess: Walmart Bride layout

Back again with another layout.  This one is the very last page in my wedding album.  The wedding was over and we were on our way to the airport.  I could not for the life of me get all those pins and tiara out of my hair (over 100 bobby pins were used).  So I had to spend the rest of the day in my veil including this trip to Walmart to get last minute supplies.


Here's the sketch I used from Sketches in Thyme.  I reversed the side of the photos and added a journal block.  This picture really deserved the story behind it.


This layout is a little different and not as fancy or formal as the rest of my album but the Graphic 45 still gives the "Walmart" page a little class.


To add a bit of distress and interest to the layout I stenciled with chalking ink prior to layering the papers and photos.


I just had to add a journal block on this page. 


The Graphic 45 embellishments included in the paper pad were perfect.  Better yet, I scored this paper pad with only one sheet cut at the thrift store!!! Woo hoo!


Ingredients:
Graphic 45 Domestic Goddess paper pad
Creative Memories sticker letters
Heidi Swapp stencil
Quick Quotes Sandy Shore Powderpuff Chalking ink
brads and washi tape
7 Gypsy products


I would like to enter this layout in the following challenges:

http://craftyhazelnutspatternedpaper.blogspot.com/2018/07/craftyhazelnuts-patterned-paper-july.html until 7/31x

http://sketchesinthyme.blogspot.com/ until 7/31

Thanks for stopping by!

Alicia

Thursday, July 26, 2018

Quick Quotes 49 Shades of Grey Wedding layout with Blend-a-sketch

I have been scrapping with all my spare time.  Besides scrapping, I also went on a long weekend getaway this month to Massachusetts.  I haven't edited those photos yet, it may be a while before I get to scrap them.  I really should start to think about my next project.  I have about 20 pages to go on my wedding album.  It will actually be 3 albums when I am finished.  It has been years in the making.  It feels so good to be nearing completion.


Here is the challenge I used from Scrap Our Stash blog.  I took my photo layout, sequin placement and banner/title placement from the first sketch.  I took the background and small banner at the top from the second sketch.


Here is a close up of the sequins.  I purchased these really fancy sequins direct from China.  It takes a while and you never know what you will actually get, most of the time it is successful.


A close up of the embellishments:


Ingredients:
Quick Quotes 49 Shades of Grey and Whistlin Dixie papers and embellishments
Quick Quotes Midnight Confessions Powderpuff Chalking ink
pieces from Quick Quotes kits
Tim Holtz Tattered florals die
sequins

I would like to enter this in the following challenges:


Thanks so much for stopping by today.

Alicia

Wednesday, July 25, 2018

Enjoy Life...stenciling with Quick Quotes Powderpuff Chalking inks

Hello, Alicia with you today,  I am attempting to finish my wedding album before my five year anniversary.  I have been scrapping at a mad pace.  Here I have used the new Spring Showers 102 paper as the background.  I added scraps of 49 Shades of Grey papers to create a simple but elegant layout.


The key to the elegant aspect is the delicate stenciling on the background paper with Midnight Confessions Powderpuff Chalking ink.   I did not ink generously as I usually do but sparingly to give a really light distressed print.


Here is another look at my focal points.  The photo is a 5x7 and the strips are twelve inches long.  I added a strip of silver fiber to the edge of the paper to dress it up.  The silver also accented the silver beading along the edge of the flowers. Finally, I sprinkled some pearls throughout the layout.


Quick Quotes products used:


other products:

Stencil:  Tim Holtz
Flowers:  Prima
Pearls and Fiber:  Recollections
Template:  Kiwi Lane Madison Avenue 3A


Thank you so much for stopping by today!


Tuesday, July 24, 2018

Black and White Atlantic Hearts Challenge sketch inspiration


Hello, sketch time!  I found several of these die cut pieces on my desk from a previous creating session.  I had been struggling with finishing this card for a while.  It seems all I needed was a great sketch. All the pieces worked wonderfully for this week's sketch at Atlantic Hearts Challenge.


Here is this week's sketch.  I turned it to accommodate the print on the base card.  I added two different ribbons on top of the print.  It is kind of busy but staying monochromatic helped pull it all together.


A close up of these fantastic flowers!  I purchased them at Tuesday Morning.


Ingredients:
Michael's black and white card base
Spellbinders scalloped oval dies and label die
Mark Richards fabric flowers
Thank you sentiment stamp
Raven Ranger dye ink
ribbon


Thanks so much for stopping by and don't forget to play along with Atlantic Hearts Challenge this week.

Atlantic Hearts Sketch Challenge


Thanks so much for stopping by!

Alicia

Monday, July 23, 2018

Christmas in July Tree Card


I usually like to play along with Christmas in July challenges, it seems to make the heat of summer a little more bearable.  I love this Sizzix die and jumped at another chance to play with it.  I took a bit of extra care and added red holly berries to all the places on the sentiment that called for them.  


I used a very thick green shimmer card stock.  Note to self, don't use super heavy card stock with this die again.  The reason being the folds aren't as nice and neat.  Here it is unfolded.


Ingredients:
Shimmer card stocks and paper
misc papers including metallic silver
Sizzix Christmas Tree Fold Along Card die


I would like to enter this in the following challenges:


Thank you for stopping by!

Alicia

Wednesday, July 18, 2018

Rockstar! Creative Memories Reminisce layout

This one is a really simple layout.  I just love the photo of my husband, knowing my sister is the photographer makes it all the cuter.  He is picky about his photo being taken but this was wedding day...he had to be completely available but I am sure by this point he was tired of the photos.


I cut a bunch of scraps from this paper collection with my concentric star dies.


I used my Cricut to cut the title from another scrap piece.


To jazz it up a little I flung spots of Heidi Swapp Color Shine on top of the pieces.  


Ingredients:
Creative Memories Reminisce power palette
Heidi Swapp Color Shine Bronze
Cricut title from Rock Princess
Our Daily Bread Designs Double stitched star dies
sketch from pinterest


I would like to enter this in the following challenges:

http://diecuttindivas.blogspot.com/2018/07/ch-378-lots-of-layers.html until 7/24x


thanks so much for checking out my post!

Alicia

Tuesday, July 17, 2018

Celebrate! Quick Quotes July Club Q Layout

Hello, Alicia with you today, showing off July Club Q and my precious nephew.  I am also sticking with this month's challenge: use red, white and blue.  There were so many neat pieces in this month's kit.  I just had to chalk the stars! I used Capri Blue and Barn Board chalking inks to do the job. 


Quick Quotes pretty much does all the work besides chalking, however, I will provide the steps I used.
  • Ink all edges and the chipboard stars
  • Layer the pre-cut squares centering as you go
  • Adhere 3 large inked stars to 3 small pre-cut squares
  • Crop pictures and create mats (I used an additional sheet of paper)
  • Arrange and adhere photos
  • Arrange and adhere 3 star/square embellishments
  • Adhere banner to bottom white space
  • Add sentiment
  • Randomly adhere remaining stars


Here's a close up of my inked star on the square.  How cute is that?  Quick Quotes creates some fantastic kits that are super easy to use.


I used my Canon printer to print these vibrant photos.  One of my favorite qualities of the Canon inks is how fast they dry.  I can print and cut within minutes without a problem.


Quick Quotes products:
Powderpuff chalking inks:  Capri Blue and Barn Board

Canon Products:

other products:
rub-on sentiment

Thank you for stopping by.  Don't forget to play along with this month's Quick Quotes challenge open until 7/25.

Monday, July 16, 2018

Those shoes...wedding layout with Let's Get Sketchy

I am continuing to work on my wedding album.  I was delighted with my creativity on the day I created this one.  I also created the its a guy thing layout on that same day.  I love both of these layouts.  It helps to be inspired by great sketches.  Yes, I got the title from the Eagles song.


Here's the sketch I used.


I am in love with the details.  Especially, the silver foil paper in the back with the tiny white flowers.  I have literally had that scrap of paper for 25 years.  I used a bit of it for paper beads in the 90's.  I just thought it was the prettiest and someday I would find another use for it. Finally, it will be remembered forever here in my wedding album.  The perfect spot! 


All this silver and grey match my silver shoes which of course by this time were killing my feet as well as sinking into the moist ground.  My dress was long enough to cover my feet in the photos so it is not noticeable.


Lots of bling just like my shoes.  They have a brooch looking embellishment on them.


Ingredients:
Creative Memories Divine paper and circle cutter
Little Yellow Bicycle die cut paper
Stampin Up fancy corner punch
K & Co glitter letters
Mrs. Grossman sticker letters (yes, I believe these are older than my child)
Magic Mesh
various silver metallic papers including DCWV
Smooch Silver spray ink
Prima flowers 
various embellishments including DCWV wedding ribbon
bling

I would like to enter this in the following challenges:


My wedding was only 5 years ago, but I still consider it a glory~ous day!


Thanks for stopping by 

Alicia